
Alright, let’s talk about fiddling with the FJR1300 seat height. I remember when I first got my FJR, lovely bike, really comfortable for the long haul. But, gotta admit, felt just a tad tall for me at stops. Not dangerously so, you know, but enough that I wasn’t quite flat-footing it comfortably, especially on uneven ground. Annoying.
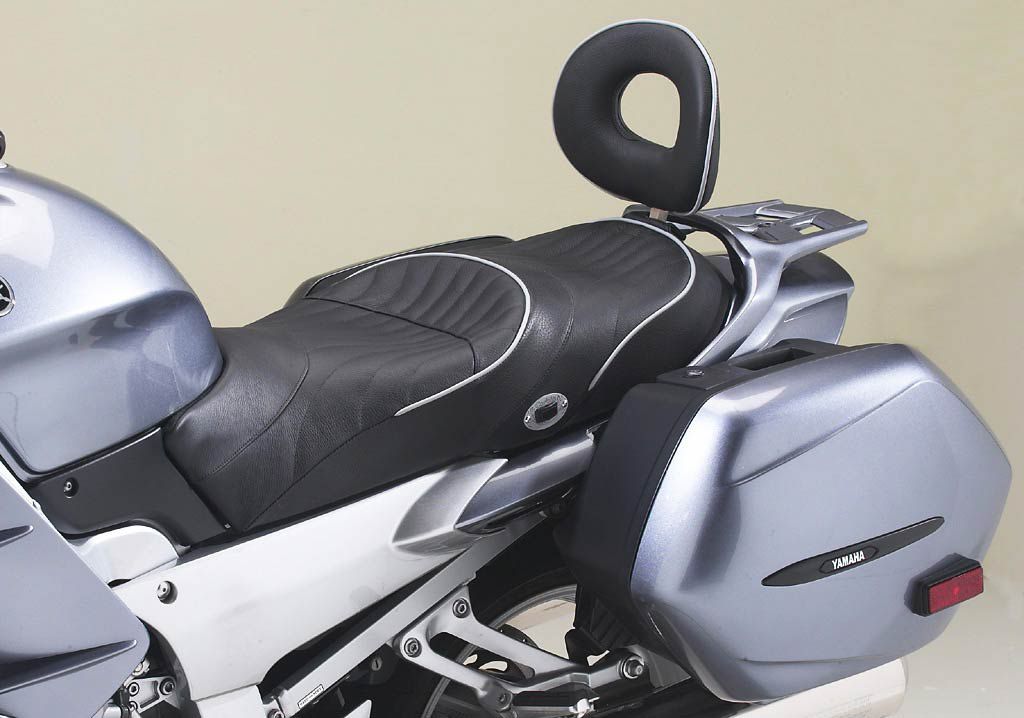
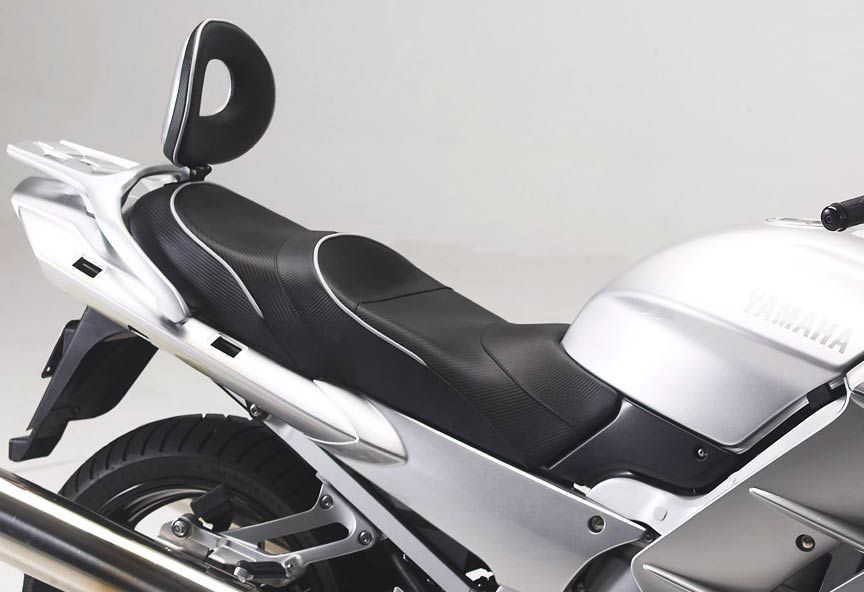
So, I decided to see what I could do about it. Heard the seat was adjustable, which was one of the selling points for me, actually. First thing, obviously, was getting the seat off. Pretty standard stuff. Put the key in the lock near the back, gave it a twist, and the main rider seat popped loose. Lifted it up and pulled it back slightly, then off it came. Set it aside carefully, upside down on a soft cloth so I didn’t scratch anything.
Figuring Out the Adjustment
Okay, seat off. Now, looking underneath it, I could see the mounting points. And looking at the bike’s frame where the seat sits, specifically under the front part of the rider’s seat area, I spotted the adjustment mechanism. It wasn’t super complicated, thankfully. It looked like a couple of plastic or rubber blocks, kind of like spacers, held in place.
Mine was in the default, higher position from the factory. Seemed pretty clear how it worked:
- There were these two main support pieces under the front nose of the seat base.
- On the bike’s subframe, there were corresponding brackets or slots where these supports rested.
- The key part was these removable spacer blocks sitting under the main seat supports within the frame brackets.
Making the Change
The process was pretty straightforward, really. Those spacer blocks just needed to be repositioned. Or, well, flipped, actually. In the high position, the thicker part of the block was underneath the seat support, pushing it up.
So, I pulled out those blocks. They came out pretty easily, just needed a little wiggle. Then, I flipped them over, so the thinner side was now facing up, ready to sit under the seat support. There were little guides or notches, so they only really fit properly one way in each orientation (high or low). Slotted them back into their place on the frame brackets. It was a bit fiddly getting them lined up perfectly, but took maybe two minutes once I saw how they sat.
Putting it Back Together and the Result
With the adjuster blocks set to the lower position, I just reversed the process. Lined up the front of the seat, making sure the supports rested correctly on the now-lower blocks. Then pushed the back of the seat down until it clicked back into the latch mechanism. Gave it a tug to make sure it was secure.
Hopped on the bike, and yeah, definite difference. Not massive, maybe an inch or so lower? But enough. Enough that I could get more of my boot soles planted on the ground at stops. Felt way more confident maneuvering it in parking lots and dealing with slopes. Didn’t seem to affect the riding comfort much, which was good. Still felt like the same FJR saddle, just a bit closer to earth. Took maybe 10 minutes total, most of which was just looking and understanding how it worked the first time. Easy peasy.


