
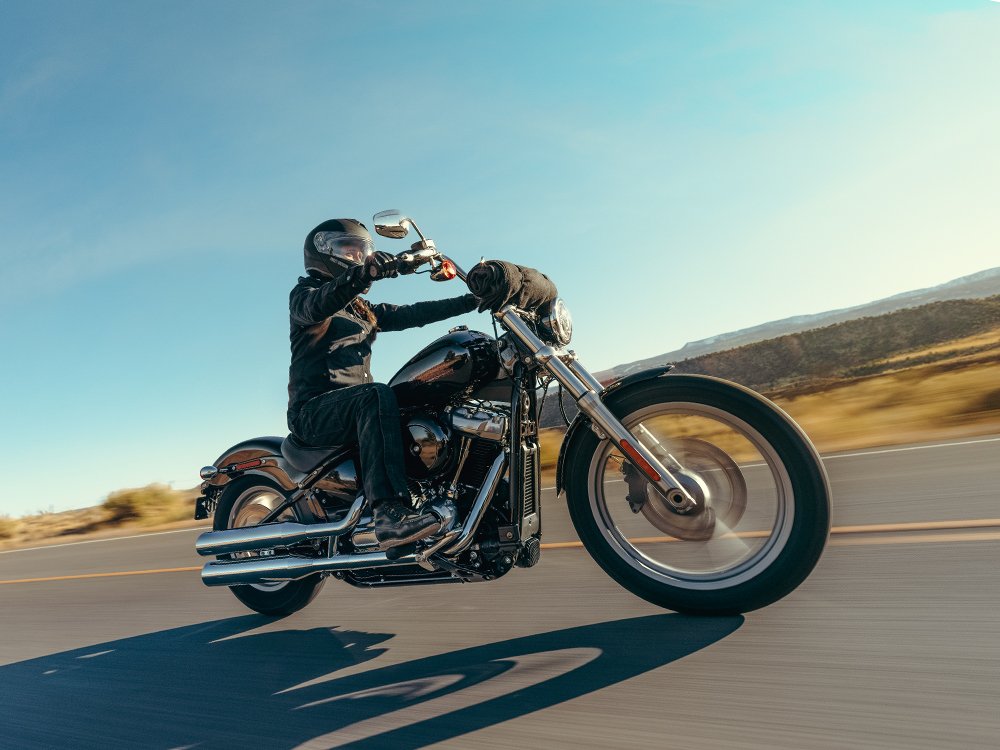
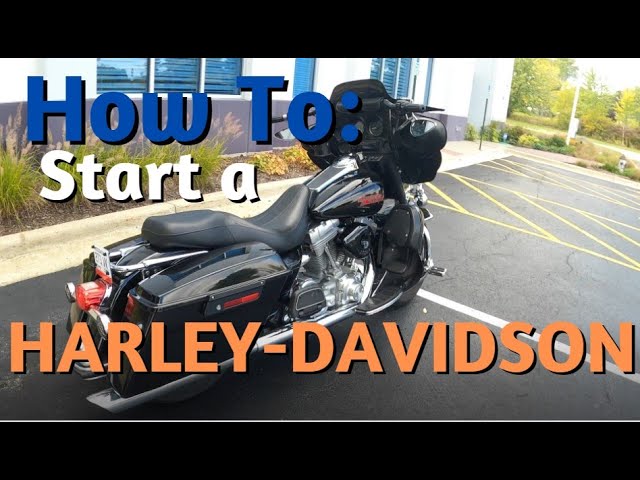
Alright, so today I wanted to chat a bit about something that’s become pure muscle memory for me now, but I reckon it’s a good thing to walk through – how I get my Harley Davidson roaring to life. It’s not just a machine; it’s an old friend, and waking it up has its own little ritual.
First Things First: The Approach
When I decide it’s time for a ride, the first thing I do is just walk up to my bike. Sounds simple, right? But there’s a feeling to it. I usually do a quick once-over, nothing too technical, just making sure things look generally okay. Then, it’s key time. I fish the key out of my pocket – no fancy keyless stuff on my older gal – and get ready.
Getting The Juices Flowing: My Pre-Start Checklist
Before I even think about hitting that starter button, there are a few small steps I always go through. It’s like a little dance I do.
- The Ignition Turn: I pop the key into the ignition. On my model, it’s right there on the console. I give it a firm turn to the ‘ON’ position. You’ll see the dash lights flicker on, maybe a needle or two will twitch. That’s the first sign she’s waking up.
- Listen for the Whirr: This is important. As soon as I turn that key, I pause and listen. You should hear a distinct whirring or buzzing sound for a couple of seconds. That’s the fuel pump priming, getting the gasoline ready for the engine. If I don’t hear that, I know I might have an issue to look into before trying to start it.
- The Famous Kill Switch: Ah, the kill switch! It’s that red switch on the right handlebar. I can’t tell you how many times, especially when I was newer to Harleys, I’d forgotten this. I make absolutely sure it’s flicked to the ‘RUN’ position. If it’s on ‘OFF’ or ‘STOP’, you can thumb that starter all day long, and absolutely nothing will happen except maybe draining your battery a bit. Been there, done that, felt a bit silly afterwards!
Almost There: Final Touches Before the Thunder
Okay, power’s on, fuel pump has done its job, kill switch is ready. We’re close now.
- Finding Neutral: This is a big one for me. I always, always make sure the bike is in neutral before I start it. I look for that little green ‘N’ light on my dashboard. If it’s not on, I’ll gently rock the bike back and forth a smidge while tapping the gear shifter with my foot until it clicks in and the light comes on. Starting it in gear can make the bike lurch forward, which is no fun for anyone.
- Squeeze the Clutch: Even with the bike in neutral, I make it a habit to pull in the clutch lever on the left handlebar. It’s just an extra layer of safety, and on some bikes, it’s actually a requirement for the starter to engage. So, I squeeze it all the way in.
The Main Event: Firing Her Up!
This is the part I love. With the clutch lever held in, I reach over to the right handlebar again. There’s the starter button, usually just below the kill switch, often with a little lightning bolt symbol on it.
I take a breath, then I press and hold that starter button. You’ll hear the starter motor engage, a sort of rhythmic churning sound… chug-chug-chug… and then, if all is well, BOOM! That unmistakable Harley rumble erupts. It’s a sound that never gets old, that deep, throaty roar that just says ‘Harley’.
Once she’s running, I’ll usually let her idle for thirty seconds to a minute, especially if it’s a cold morning. Just lets the oil get moving and everything settle in. Then it’s a final check, kickstand up, and I’m ready to feel the wind.
And that’s my process. Seems like a lot when you write it all down, but it becomes second nature pretty quick. Every ride starts with this little sequence, and it’s all part of the experience for me.


