
Getting Started with the C7.R Beast
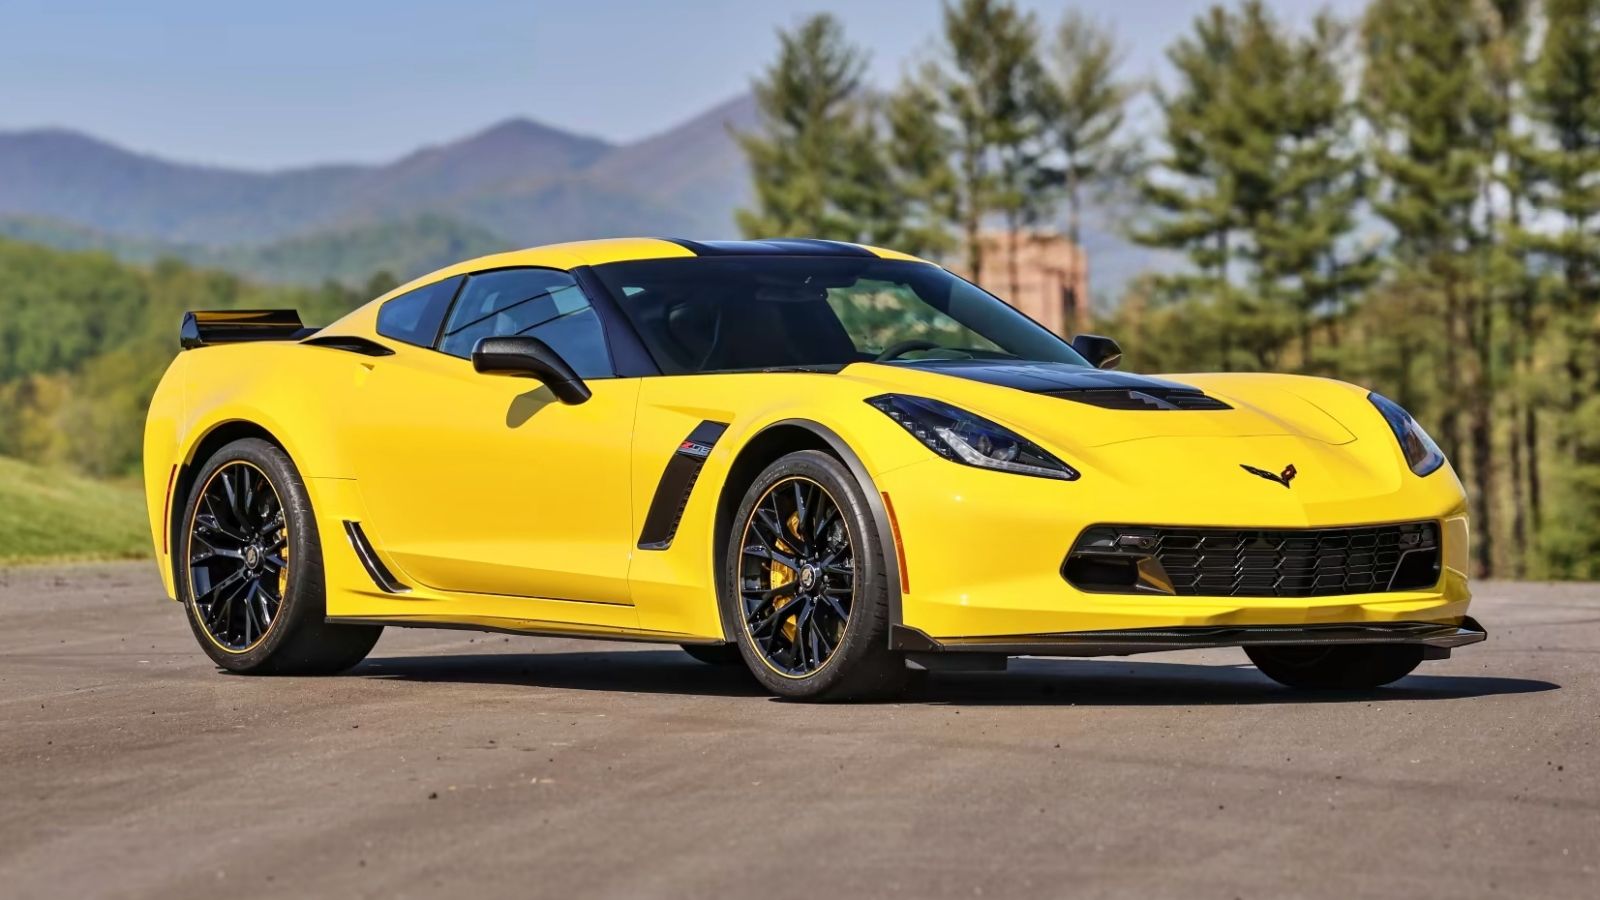
Alright, so today I wanna share my little adventure with this Chevrolet Corvette C7.R model kit I got my hands on. Been a while since I tackled a proper car model, and this one, well, it just looked mean, you know? The real C7.R is a monster on the track, and I figured, why not try and build a tiny version of that power?
Cracking Open the Box
First thing, popping open that box. Man, the amount of plastic in there! So many sprues, tiny little bits and pieces. Honestly, a bit overwhelming at first. You look at the instruction booklet, and it’s like a treasure map to a very complicated treasure. Some folks get right to snipping parts, but nah, I like to just look it all over first. Get a feel for what’s ahead.
The quality of the molding looked decent, not too much flash, which is always a good sign. Saves you a bunch of cleanup time later, and trust me, cleaning up flash is no fun. It’s like, the most boring part of the whole deal.
The Nitty-Gritty: Prep and First Steps
So, before any glue touches plastic, I always give the parts a good wash. Just some mild soap and water. Gets rid of any oils from the factory or from my grubby fingers. Helps the paint stick better later on. Some people skip this, but I learned the hard way that it makes a difference.
Then it was time to actually start building. I usually begin with the engine and chassis, kinda like building a real car from the ground up, I guess. This C7.R engine was pretty detailed. Lots of small pipes and bits. My fingers felt like sausages trying to handle some of them. Had to break out the tweezers more than once. There was this one part, super tiny, that flew off my desk. Spent a good ten minutes on my hands and knees looking for that sucker. Found it, thankfully. Almost gave up and scratch-built a replacement, which would have been a pain.
Body Work and That Iconic Shape
Once the chassis started to look like something, I moved onto the body. This is where you really see the car take shape. The aggressive lines of the Corvette, that wide stance. It’s cool watching it come together. Lots of dry fitting here. That means putting parts together without glue first, just to see how they fit. Super important step, this. Avoids nasty surprises when the glue is already on. Found a couple of spots where the fit wasn’t perfect, needed a bit of sanding and gentle persuasion. You gotta be patient, can’t rush this stuff.
The interior was next. Tiny dashboard, seats, roll cage. The roll cage was a bit fiddly, lots of thin bars to align. But it adds so much to the race car look. I decided to paint the interior bits before full assembly, makes life easier than trying to get a brush into tight corners later.
Laying Down Some Color
Painting is where I always get a bit nervous and excited. For this C7.R, I went with the classic racing yellow. Took a few coats to get it nice and even. Used my airbrush for the main body, gives a smoother finish than a brush, usually. But man, airbrushes can be temperamental. One minute it’s spraying like a dream, the next it’s sputtering like an old jalopy. Had to clean it out mid-session. Always something, right?
Then there were all the black bits, the aero parts, the vents. Lots of masking tape involved to get clean lines. That’s another test of patience. Slow and steady.
Decal Drama
Ah, the decals. The C7.R has a ton of sponsor logos and racing stripes. This is where a model can either look amazing or like a complete mess. These decals were thin, which is good for conforming to curves, but also means they can tear easily. I used a bit of decal softener solution, helps them snuggle down into panel lines and over bumps. Had a few close calls, one big stripe almost folded over on itself. Managed to save it with a wet brush and a lot of gentle poking. My heart was in my mouth for a bit there, I tell ya.
- Patience is key with decals.
- Good lighting helps a lot.
- Don’t drink too much coffee before doing them, shaky hands are the enemy!
Bringing It All Together
Finally, with paint dry and decals set, it was time for the final assembly. Putting the body onto the chassis, adding the wheels, the massive rear wing, all the little clear parts for lights. This is the rewarding part, seeing all that work come to fruition. It actually looked like a C7.R! A tiny, angry-looking C7.R sitting on my workbench.

Added some final touches, a bit of weathering here and there, not too much, just enough to make it look like it’s seen a lap or two. You know, make it feel a bit more real. It’s funny how these little plastic things can take up so much of your time and focus. But when it’s done, and it looks good, it’s a great feeling.
So yeah, that was my journey with the Chevrolet Corvette C7.R kit. A few frustrating moments, sure, but mostly a lot of fun. Definitely a cool model of an awesome car. Now, what to build next… that’s always the question, isn’t it?


