
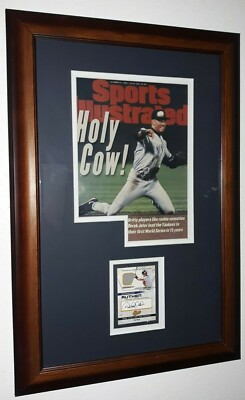
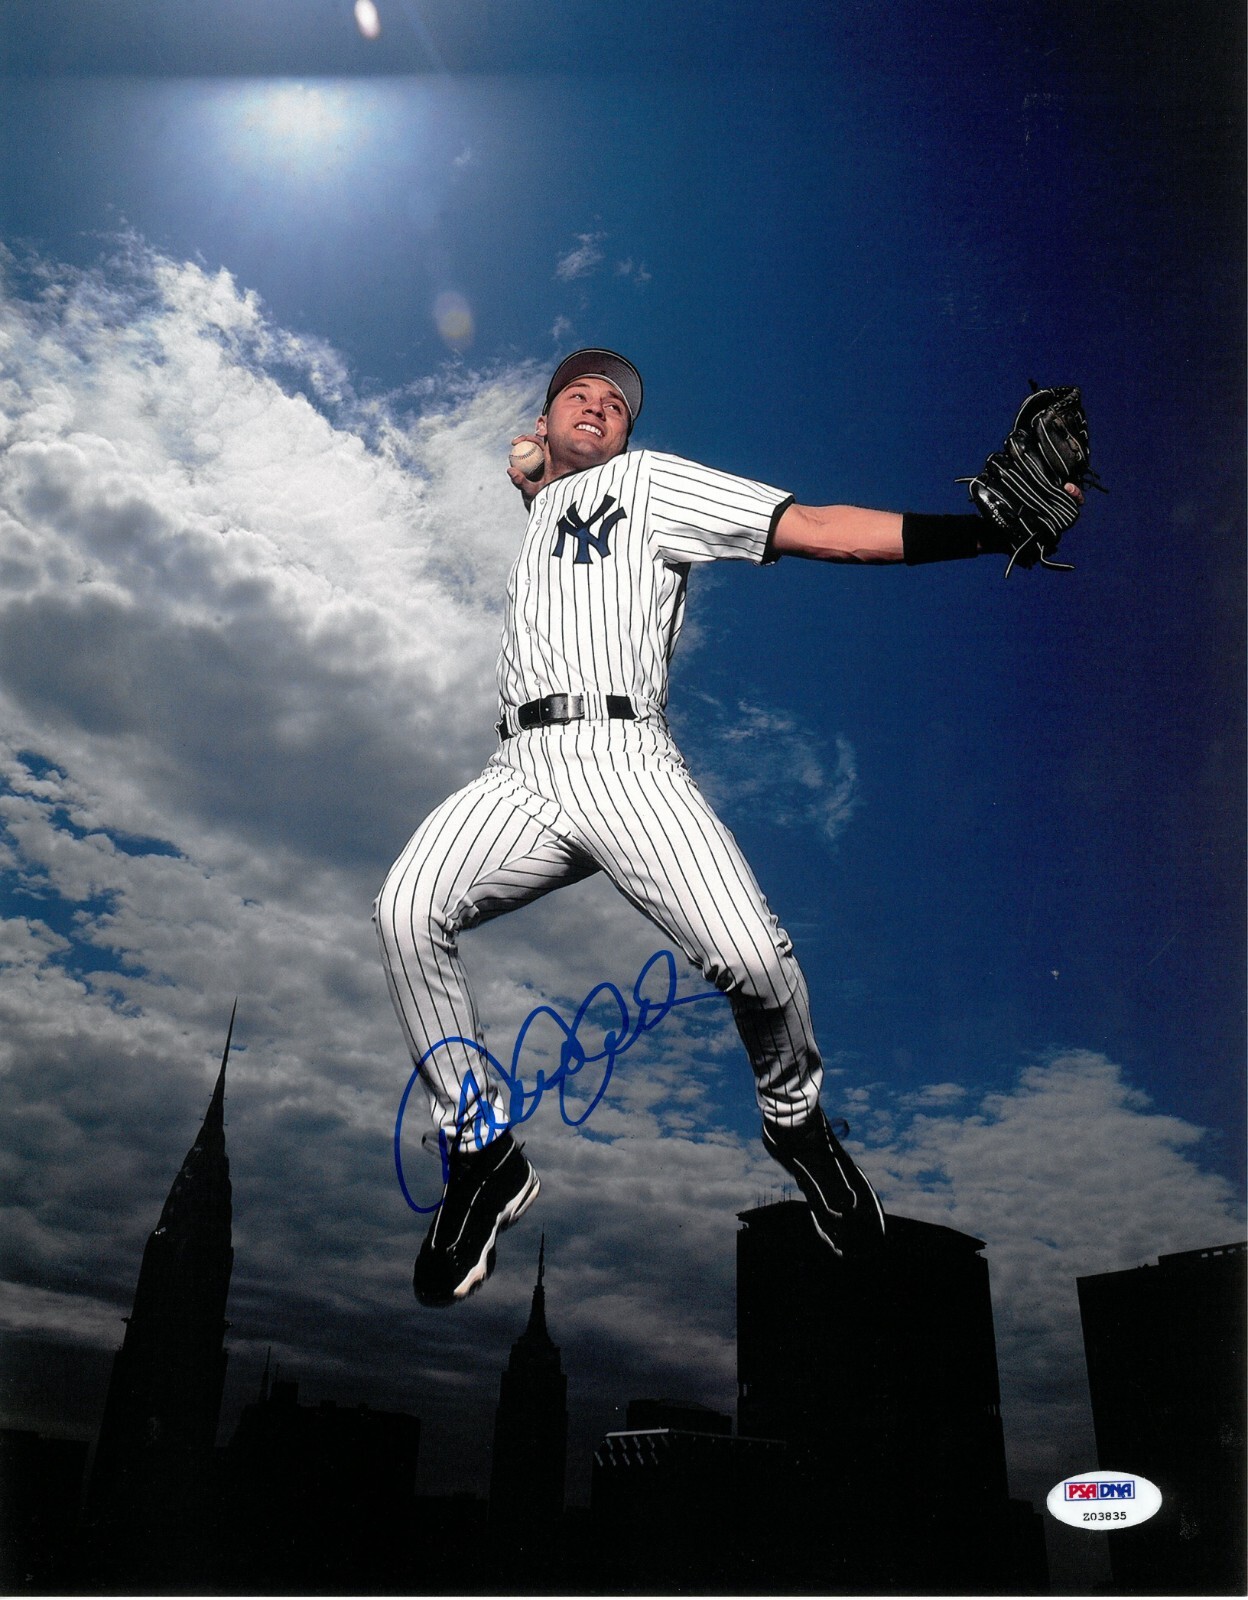
Okay so today I finally got around to protecting my favorite piece of sports memorabilia – my signed Derek Jeter photo. Man, this thing sat unprotected for way too long and I’ve seen others fade or get ruined. Not happening to mine!
The Wake-Up Call
Honestly? I used to just stick it in a cheap frame from that big discount store. Didn’t think much about light or heat or anything. Then last month, I visited an old buddy who has an Ichiro signed ball displayed right by his sunny window. The blue ink? Looked kinda brownish, faded, not sharp at all. That freaked me out. Made me realize my Jeter was probably getting quietly wrecked day by day. Needed a proper solution, not just looking nice but actually being protected.
Digging Into the Basics
I didn’t want to overcomplicate it, so I started simple. Asked the group chat – collectors, not my regular buddies. Big mistake. Everyone had wild opinions, expensive glass names I couldn’t pronounce… overwhelming. Switched gears. Searched online using really basic stuff like “save signed picture fading” or “protect baseball autograph cheap”. Found a ton of info, but focused on the simple repeats:
- Glass matters BIG time. My cheap frame had regular glass. Sunlight basically bakes signatures through it. UV-protective acrylic is the way to go, blocks most of those bad rays.
- Keep it out of direct sun. Sounds obvious, right? But my spot above the TV got afternoon sun glare… moved it ASAP.
- Touch ONLY the edges. Never touch the signed surface. Oils and sweat from fingers? Worst enemies for ink. Even my thumbprint could mess it up later.
- Don’t laminate! Yeah, sounds protective, but that plastic sticks forever and the heat ruins ink. Never do it.
The Actual Fixing Process
Armed with the basics, I tackled it step-by-step yesterday:
Step 1: Taking it OUT safely.
First, I carefully took the photo out of its old, cheap frame. Clean surface, wore cotton gloves I found in my toolbox (new, unused!). Lifted the photo out gently by the white borders. Placed it flat on a clean piece of plain white paper on my table. No snacks nearby, I swear!
Step 2: Picking the Right Protection.
I skipped the fancy museum glass. Went to a local frame shop, asked specifically for “UV-protective acrylic” cut to fit my photo size. It cost a bit more than regular, sure, but way less than museum stuff. Got a new backing board too – just simple, kinda expensive acid-free stuff the shop recommended. Made sure it was smooth and sturdy.
Step 3: Setting Up the Frame.

Put the new backing board into my frame first. Then, super carefully, placed the photo face-up on it. Straightened it perfectly. Took the UV acrylic (peeled off the protective film first!), laid it gently on top. No cleaning sprays or anything crazy! Just made sure it was aligned.
Step 4: Sealing the Deal.
Secured the back of the frame using the little tabs my frame had. Pressed them down firmly all around. I even ran my finger along the edge of the acrylic to make sure it was sealed against the backing and no gaps existed. Dust bunnies shall not pass!
Finding the Safe Spot
It used to hang above the TV. Bad news. Lots of light bouncing around that area. Walked around the living room holding it up like an idiot. Checked spots at different times. Found the perfect place: an interior wall beside the bookcase. No direct sun ever touches it. It’s pretty dim, honestly. But perfect for keeping the Captain sharp forever. Hung it up securely.
Feeling the Win
Honestly, it was mostly just not overcomplicating it. Focusing on UV rays, keeping fingers off it, and finding a shady spot. Seeing it look crisp and knowing the ink isn’t slowly baking anymore? Huge relief. Feels good knowing I didn’t need some crazy expensive setup, just the right basic steps consistently followed through. Feels properly preserved now. Much better than the coffee incident years ago… but that’s another story!


")