
Alright folks, buckle up because today was all about tackling that sash installation project I’ve been staring at for weeks. Honestly? I thought it’d be way harder than it turned out to be. Here’s exactly how it went down, warts and all.
Getting Started & Gathering Stuff
First thing this morning, I realized I needed to see what the heck I actually had on hand. Headed down to the garage, dug around past all the half-used paint cans and Christmas decorations. Found my old utility knife – the blade looked like it fought a bear, so I snapped that off sharp and fresh. That glue gun from years back? Still worked after warming up for ages. Got my tape measure, speed square, pencil, and that level I swear always lies a little bit.
The crucial part: I measured the dang window opening three times. Top, middle, bottom. Made my pencil marks nice and clear on the frame. Measured the new sash itself too – gotta make sure it actually fits the hole! This step felt boring, but man, rushing here would’ve screwed everything later.
The Messy Part – Gluing & Priming
Time for glue city. Plugged in that hot glue gun and waited… and waited… felt like watching paint dry. Once it finally coughed out some molten goop, I started squeezing it into the groove on the sash where it meets the window stop. Globs all along the top and sides – figured too much is better than too little here. Got my hands super sticky real quick.
Pro Tip Learned Fast: Have a damp rag right there next to you! Wiped off the messy glue smears that oozed out like lava immediately before they set rock hard. Left it alone for a good half hour like the instructions said. Went and made coffee, resisted the urge to poke it.
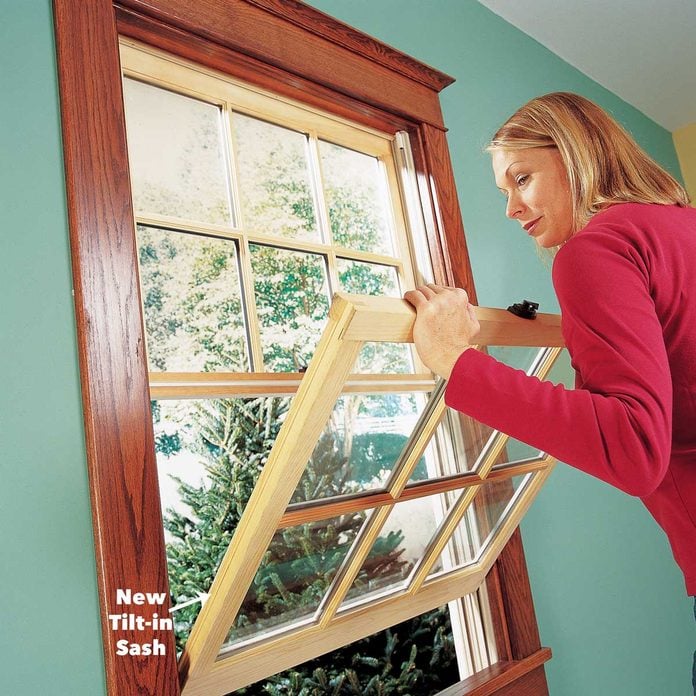
Squaring Up & Final Push
Came back, the glue felt solid. Now for the truth test. Positioned the sash into the opening. Pushed it hard against the frame where my pencil marks were. My level came out again – slapped it across the top and checked both sides. Phew, the bubble sat nicely between the lines. No wonky looking sash today! Gave it a couple of firm pushes all around to really make friends with that glue.
Remembered I had the sash plungers (those little spring-loaded thingies that hold it closed). Hadn’t touched them before now. Fiddled with them for a bit – lining up the holes on the sash with the frame bits took some squinting and swearing. Finally got them clicked in place. Gave the sash a gentle push to test… and it popped open smooth as butter! Another push? Snapped shut perfectly. Felt like a tiny victory.
Feeling Smug & Final Thoughts
Stepped back. Admitted my garage workshop looked like a craft store threw up. But the sash? Looked clean. Felt sturdy. Functioned properly. Took maybe an hour and a half total, with most time spent waiting for glue and cussing under my breath.
The real talk: I nearly gave up when that glue gun took forever. And lining up the sash without getting glue everywhere was trickier than I expected. Take your time measuring twice (maybe three times!). Have that damp rag handy before you start gluing. Seriously. Overall? Way easier than wrestling a new sink trap. You got this!


