
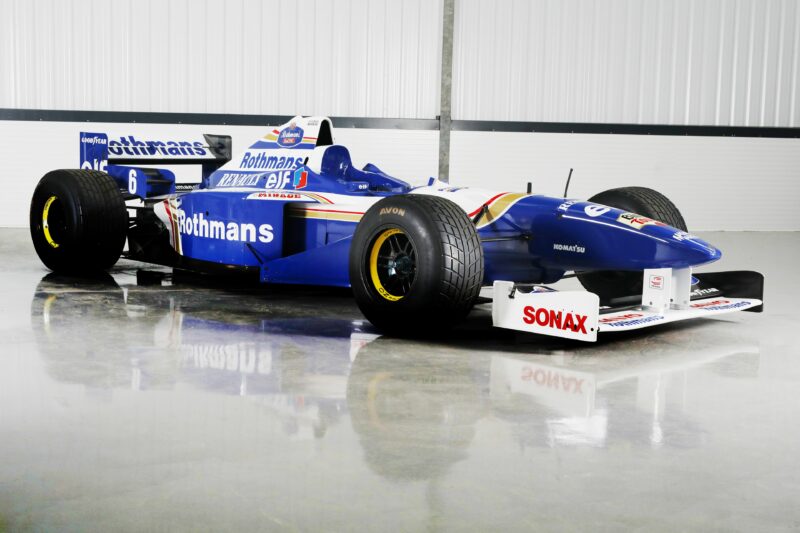
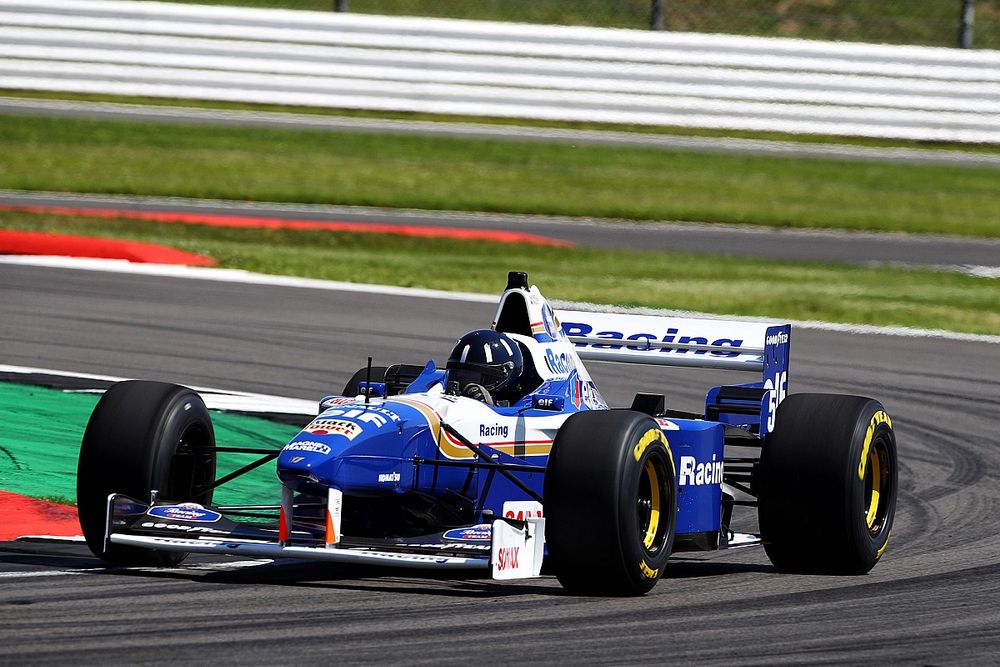
Okay, so today I decided to dive into the world of Formula 1 and build a model of the legendary Williams FW18. I’ve always been fascinated by this car – it’s the one Damon Hill drove to win the championship in 1996! So, I figured, why not try and recreate it?
First things first, I gathered my materials. I already had a 1:20 scale Tamiya model kit of the FW18 that I bought it a while ago, Just keep it in my stroge room. Time to take it out! Besides the kit, I needed some basic tools like:
- A hobby knife
- Plastic cement
- Sandpaper (various grits)
- Tweezers (for those tiny decals!)
- Paints, of course, mostly white and blue, and some black for the tires.
- Paintbrushes, I perfer fine point brushes for details.
The Building Process
I started by carefully removing the parts from the sprues. It is very important because I don’t want to broke it! The hobby knife came in handy here. Then, I spent some time cleaning up the parts, removing any little bits of plastic left over from the molding process. Sandpaper was my friend here. I used the coarser grit first, then moved to finer grits to get everything smooth.
Next, I began assembling the chassis. It is very exciting. This was pretty straightforward, just following the instructions and using the plastic cement to glue the pieces together. I made sure to let everything dry completely before moving on. Patience is key!
The bodywork was a bit trickier. The FW18 has a lot of curves and angles, so I had to be extra careful when gluing the pieces together. I used clamps and tape to hold everything in place while the glue dried. Sometimes, I thought maybe I should use 502 glue, but I didn’t.
Then came the painting. I applied a few thin coats of white paint to the bodywork, letting each coat dry completely before applying the next. Thin coats are important to avoid drips and get a nice, even finish. Once the white was dry, I masked off the areas that needed to be blue and sprayed those. I messed up masking it, and I need to fix it by hand, It is so annoying!
The decals were the final touch. This was probably the most fiddly part of the whole build. Those tiny sponsor logos! Tweezers were essential here. I carefully applied each decal, using a damp cloth to smooth them out and remove any air bubbles. I did a good job, I thought!
Finally, I assembled all the sub-assemblies – the chassis, bodywork, wheels, and wings. And there it was, my very own Williams FW18! It took a few days, and there were definitely some moments of frustration, but overall, it was a really enjoyable project. It is just looked the real one, and I put it in my favorite show case!


