
Okay, let’s dive into how I tackled a leaky brake master cylinder on my old truck. It wasn’t pretty, but I got it done!

My Brake Master Cylinder Saga
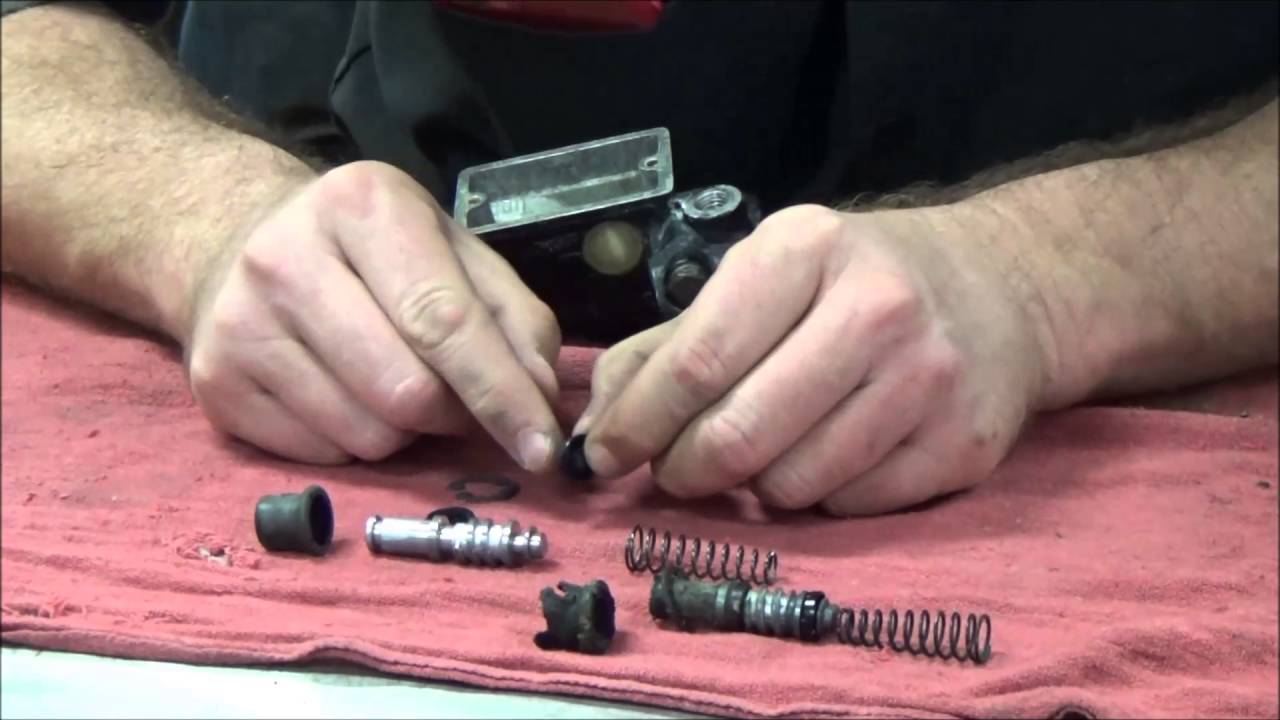
So, my brakes started feeling a bit spongy. You know, that feeling where you press the pedal and it goes down further than it should? Yeah, not a good sign. I popped the hood and, sure enough, the brake master cylinder was looking pretty wet around the seals. It was definitely leaking.
First thing I did was gather my tools and supplies. Here’s what I had on hand:
- New brake master cylinder (obviously!) Make sure you get the correct one of your car.
- Wrench set
- Socket set
- Pliers
- Brake fluid (again, check what is the correct one for your car)
- Turkey baster (or a similar fluid extractor)
- Some shop rags (lots of them!)
- A catch pan
- Brake cleaner
- Gloves.
Getting Started:
I started by putting on my gloves. Brake fluid is nasty stuff, so avoid getting it on your * I used the turkey baster to suck out as much of the old brake fluid from the master cylinder reservoir as I could. This just makes things less messy later on.
Disconnecting the Old:

Next, I carefully disconnected the brake lines from the master cylinder. This is where things can get messy, so I had my catch pan and rags ready. I used a flare nut wrench (it’s like a regular wrench, but it grips the nut better) to loosen the fittings on the brake lines. Once they were loose, I carefully pulled the lines away.
Then, there were usually just two bolts holding the master cylinder to the brake booster (that big round thing behind it). I used my socket wrench to remove those bolts, and then I could carefully pull the old master cylinder out.
Installing the New:
Before I put the new master cylinder in, I “bench bled” it. What does that mean? This means I need to get the air out of the new one before I installed it in the truck. I put the new master cylinder in a vise, attached some short pieces of brake line to it, and looped them back into the reservoir. Then I filled the reservoir with fresh brake fluid and slowly pumped the piston until there were no more air bubbles coming out of the lines. There are many videos show how to do this.
Then I carefully put the new master cylinder in place and bolted it back onto the brake booster. I reconnected the brake lines, making sure the fittings were snug, but not overtightened.
Bleeding the Brakes:
This is the most crucial part. You HAVE to bleed the brakes to get all the air out of the system. I got my friend to help me with this. He sat in the driver’s seat and pumped the brake pedal while I opened and closed the bleeder valves on each wheel cylinder/caliper. We started with the wheel furthest from the master cylinder and worked our way closer. It took a while, but we kept going until there were no more air bubbles coming out of the bleeder valves. We made sure to keep the master cylinder reservoir topped off with fresh fluid during the whole process.
Finishing Up:
Once I was sure all the air was out of the system, I tightened everything up one last time, double-checked the fluid level in the master cylinder, and then took the truck for a very cautious test drive. The brakes felt firm and responsive – success!
Final Thoughts:
Honestly, this job wasn’t super difficult, but it was a bit messy and time-consuming. The key is to take your time, be careful, and make absolutely sure you bleed the brakes properly. If you’re not comfortable with this kind of work, it’s definitely best to take your car to a mechanic. Brakes are kind of important, you know?


