
Alright, so here’s the story about that “kobe in a celtics jersey” thing I messed around with today. It was kinda goofy, but hey, that’s how you learn, right?
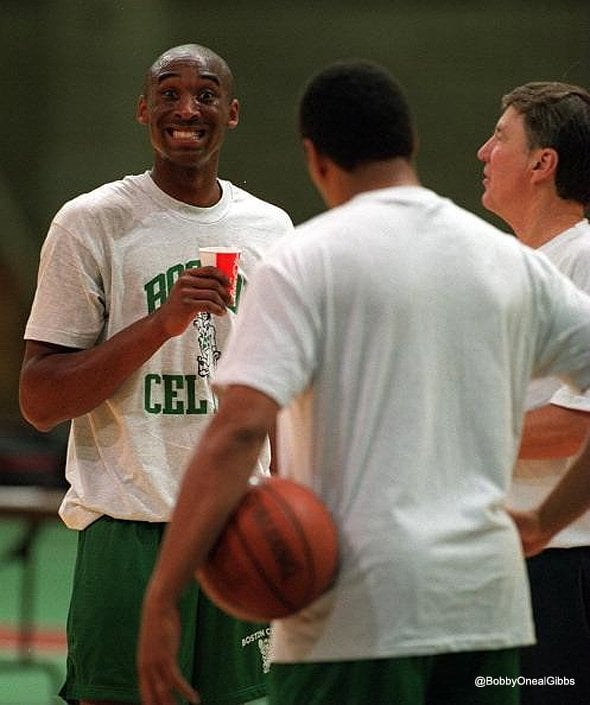
The Idea: Basically, I wanted to see if I could swap Kobe Bryant, you know, the Lakers legend, into a Celtics jersey. Just for the lulz, really. Figured it’d be a fun image manipulation project.
First Attempt – The Quick & Dirty: I started with Photoshop. I grabbed a picture of Kobe doing his thing on the court and a pic of a Celtics jersey. My first thought was just to cut out Kobe and slap him onto a background with the jersey. Looked terrible! The lighting was off, the colors didn’t match, and it just looked super fake.
Round Two – Color Correction & Lighting: Okay, so I figured I needed to get serious about matching the colors and lighting. I tried using Photoshop’s color correction tools to make Kobe’s colors more…greenish? And I played around with the brightness and contrast to try and match the background. It was a little better, but still not convincing. He looked like he was glowing or something.
The Jersey Swap – A New Approach: Then I realized I was going about it all wrong. Instead of just plopping Kobe in there, I needed to actually make him wear the jersey. So, I found a picture of a generic dude in a Celtics jersey. Then, I meticulously used the clone stamp tool to paint over the guy’s face with Kobe’s. This was tedious, like REALLY tedious.
The Devil’s in the Details: Once I had Kobe’s face on the jersey, I had to fix a bunch of stuff. The neck was wrong, the shadows were weird, and the edges were all jagged. I spent a good hour just smoothing things out and blending the edges so it didn’t look like a total hack job.

Adding the Final Touches: I went back and added some shadows under his chin and around the jersey to make it look more realistic. Also, I added a little bit of noise to the image to make it look less “perfect” and more like a real photo.
The Result? Let’s just say it wasn’t winning any awards. It looked… okay. Definitely better than my first attempt, but you could still tell it was fake. The color matching was still a bit off, and the lighting wasn’t perfect.
What I Learned: This whole thing taught me a lot about the importance of color correction, lighting, and paying attention to the details. Image manipulation is way harder than it looks! I also learned that sometimes, the best approach is to start from scratch instead of trying to Frankenstein something together. Will I try it again? Maybe. But next time, I’m gonna watch a bunch of tutorials first!
- Key Takeaways:
- Color correction is crucial.
- Lighting is everything.
- Details matter.
- Patience is a virtue (especially when using the clone stamp tool).
Would I do it again?
Probably, yeah. It was a fun challenge, even if the result wasn’t exactly masterpiece material. And hey, practice makes perfect, right?


