
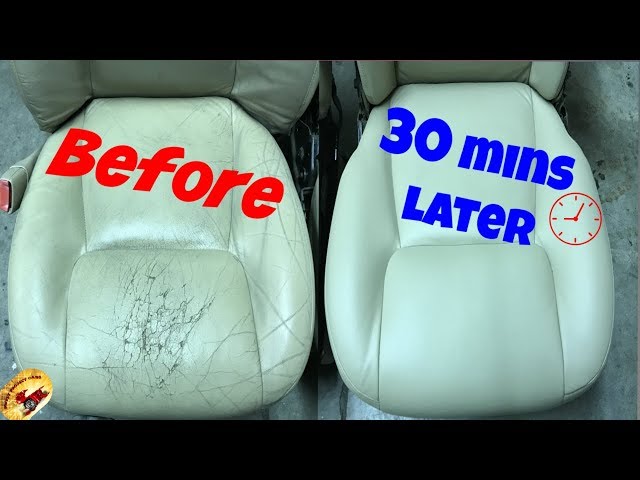
The Problem with My Car Seats
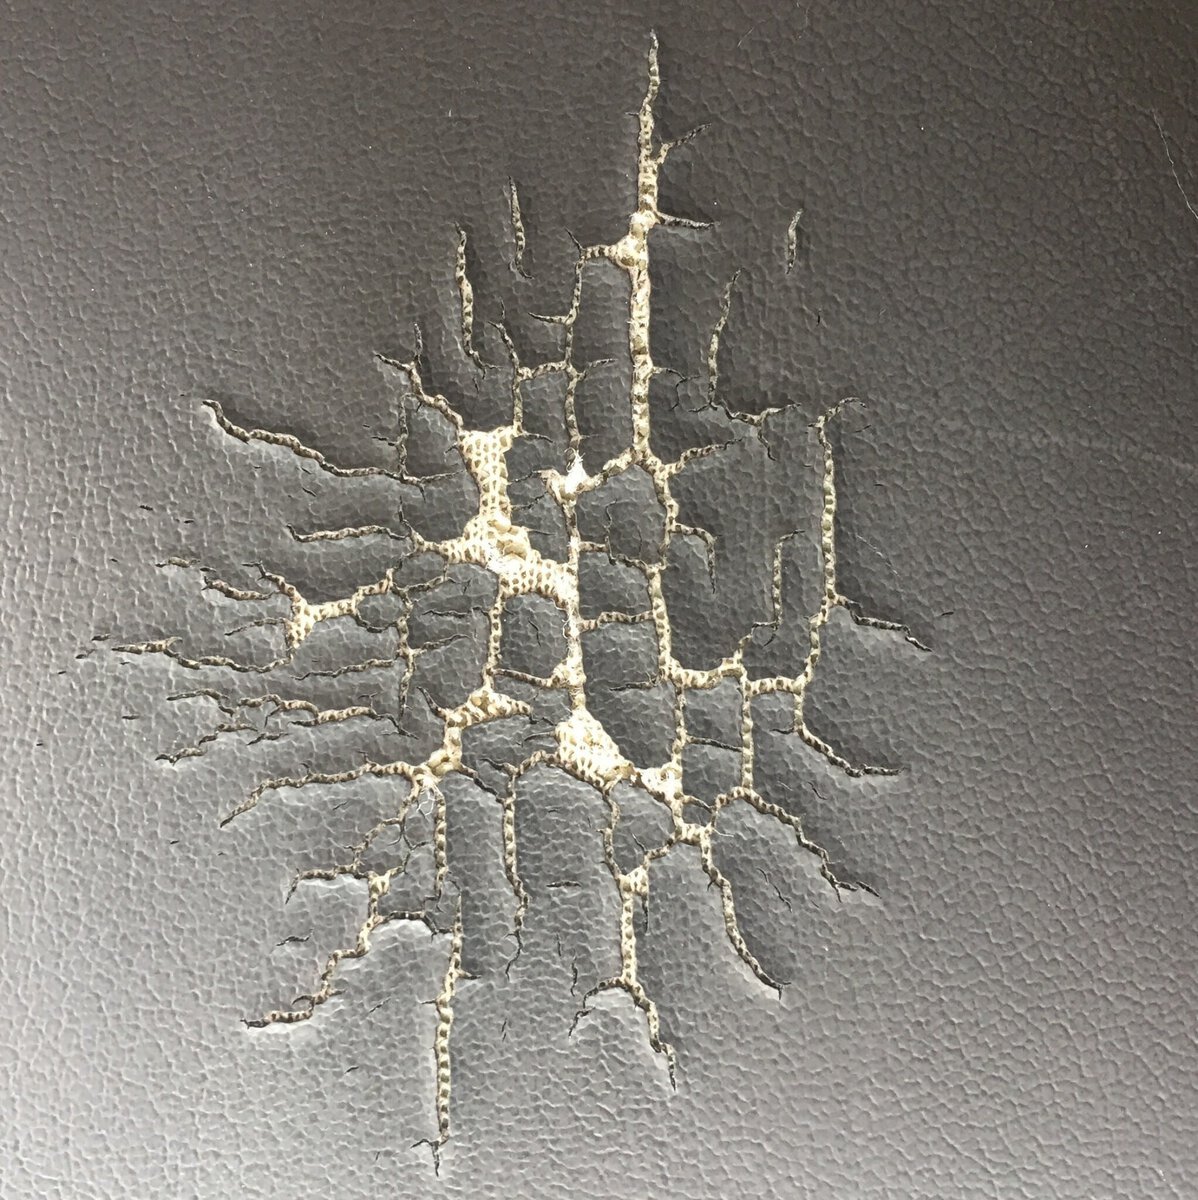
Noticed my car’s vinyl driver seat splitting along the seams last week. Big ugly crack staring at me every commute. Ignored it for days but rainwater started soaking into the foam underneath. Couldn’t stand looking at that gash anymore.
Failed Quick Fix Attempt
Tried slapping some cheap vinyl repair glue from the auto store. Followed the instructions, squeezed it in the crack, smoothed it with the spatula. Looked okay for about… three days. Peeled right off when I slid into the seat. Total waste of $8 and an hour.
Gathering Real Repair Supplies
Researched permanent fixes and grabbed:
- Rubbing alcohol and old rags
- Vinyl repair compound (not glue!) in matching color
- Mesh reinforcement fabric scrap
- Heat gun borrowed from my neighbor
- Putty knife and texture stamps
The Actual Repair Process
First, cleaned the cracked area hard with alcohol until no dirt came up on the rag. Cut the mesh patch slightly bigger than the tear. Worked the vinyl compound under the torn edges with a toothpick – sticky nightmare but necessary. Pressed the mesh into the gooey compound using the putty knife. Applied another layer of compound over the mesh, feathering the edges smooth. Waited 20 minutes for semi-dryness. Hit it with the heat gun on low while pressing the texture stamp over it to match the seat pattern. Repeated heat and stamping until it blended.
Testing and Long-Term Results
Let it cure overnight before sitting. Next morning, poked and stretched the area – held firm. Three weeks later, daily driving in summer heat? Still looks like new. Water beads right off it now. Texture isn’t perfect but from 2 feet away you’d never spot the repair.
Lessons from This Fix
Glue alone won’t cut it – need that flexible compound with reinforcement. Heat sealing makes the difference between temporary and permanent. Worth buying the $15 specialty compound instead of quick fixes. Saved myself hundreds in reupholstery quotes. Next time I’ll repair sooner before foam gets damaged!


")


