
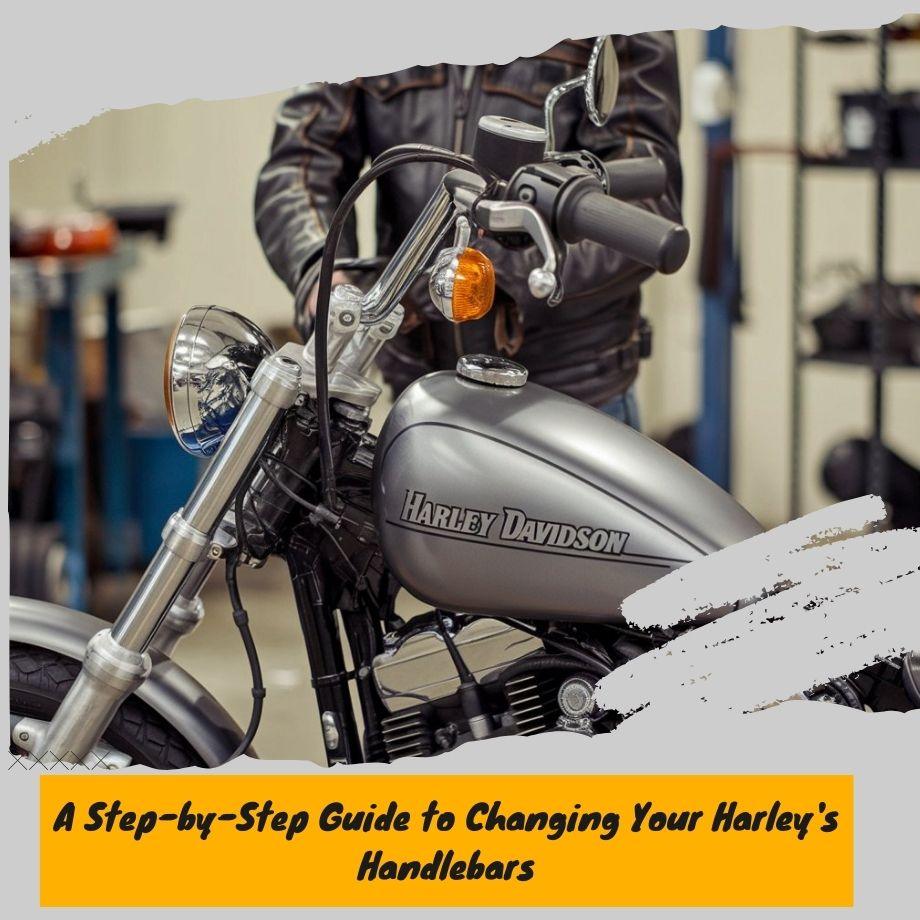
Alright, so my motorcycle’s handlebars were looking pretty beat up, and honestly, the riding position wasn’t working for me anymore. Time for a change! I decided to swap them out myself, and let me tell you, it was easier than I thought. Here’s how I did it, step-by-step, with all my blunders included.
Getting Started
First, I gathered my tools. Needed my trusty wrench set, some Allen keys, and a good grip, plus the new handlebars, obviously. I picked out some that were a bit wider and had a different bend, hoping for a more comfortable ride.
I took some pictures of the current setup. You know, just in case I messed things up and needed to remember where everything went. Believe me, this saved me a couple of times.
The Removal Process
Loosening the Controls:
- I started by loosening the bolts on the clutch and brake levers. Just enough so I could slide them off later. Didn’t want to completely remove them yet.
- Then, I tackled the switchgear housings (the things with the turn signal buttons, starter, etc.). These usually have a couple of screws holding them together. I carefully unscrewed those and gently separated the halves.
- Next, the throttle. This can be a bit tricky. I located the throttle cables and loosened the adjusters to create some slack. Then, I carefully slid the throttle tube off the handlebar.
Getting the Old Bars Off:
- With the controls loose or removed, I moved to the center of the handlebars where they clamp to the motorcycle. There were four bolts holding the handlebar risers.
- I loosened these bolts evenly, a little bit at a time, in a crisscross pattern. This is important to avoid bending anything.
- Once the bolts were out, I wiggled the old handlebars free. Mine were a bit stuck, so I had to give them a good tug.
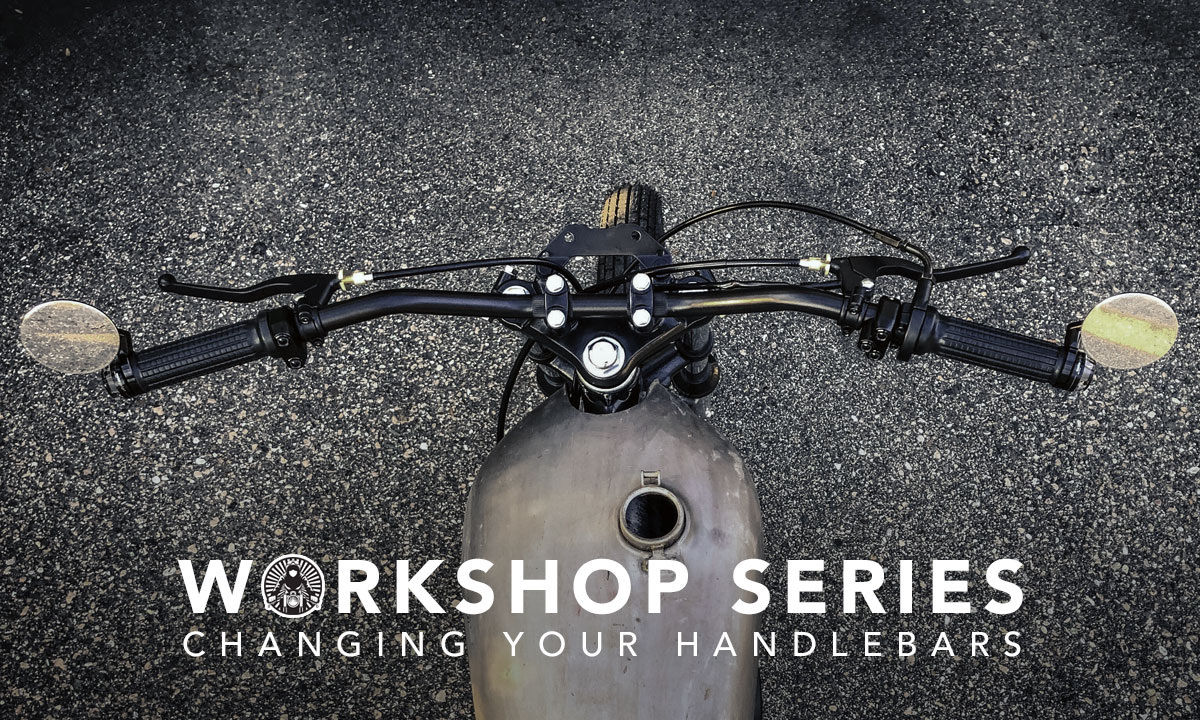
Putting on the New Handlebars
Mounting the New Bars:
- I placed the new handlebars in the risers and loosely tightened the bolts, just enough to hold them in place.
- I made sure the bars were centered and at the angle I wanted. I sat on the bike and pretended to ride, making adjustments until it felt right.
- Once I was happy with the position, I tightened the riser bolts evenly, again in a crisscross pattern, bit by bit. I looked up the torque specs for my bike, should tight them with right force.
Reattaching the Controls:
- I slid the clutch and brake levers back onto the handlebars, but didn’t tighten them all the way yet.
- Then, I reassembled the switchgear housings, making sure all the wires were tucked in neatly.
- The throttle went back on next. I made sure the cables were routed correctly and had enough slack. This part took some fiddling to get right.
Final Adjustments and Checks
Tightening Everything Up:
- Once everything was back in place, I tightened all the bolts to the proper specs. I double-checked everything, making sure nothing was loose.
- I adjusted the levers and controls to a comfortable position. This involved a lot of sitting on the bike, pretending to ride, and making small tweaks.
Testing:
- Before heading out for a ride, I started the bike and checked all the controls. Made sure the throttle snapped back, the brakes worked, and the lights and signals functioned properly.
- I took a slow, short ride around the block to get a feel for the new handlebars. Paid close attention to how the bike handled and made any further adjustments as needed.
And that’s it. It maybe took me longer than some, but my bike’s good to go. It feels so much better with the new bars. Totally worth the effort! Remember be careful and keep checking everything!


