")
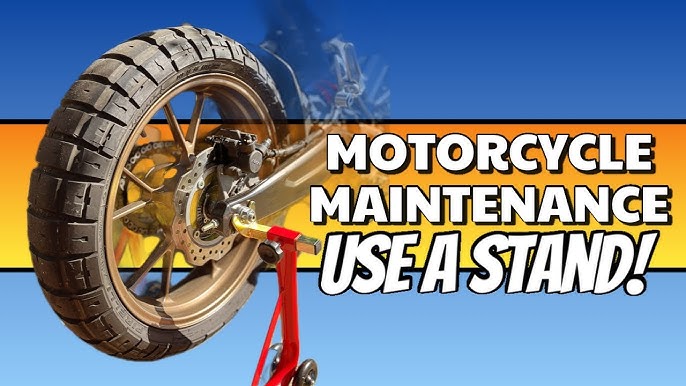
Alright, let me tell you about this thing I built – a wheeled motorcycle stand. I needed something to easily move my bike around in the garage, and those store-bought ones? Nah, too expensive. So, I figured, “Why not just make one?”
First off, I grabbed some steel tubing from the local metal supply place. Nothing fancy, just some square stuff that looked strong enough. I measured the wheelbase of my bike and cut the tubing to create a rectangular frame. This was gonna be the base of the stand.
Then, the fun part – welding! I’m no pro, but I can stick metal together good enough. I welded the corners of the rectangle, making sure it was all square and solid. I also added some cross-braces for extra strength. Didn’t want the thing collapsing under the weight of my bike.
Next up, the wheels. I found some heavy-duty casters at a hardware store. These were the kind with locking mechanisms, so the stand wouldn’t roll away on its own. I welded mounting plates onto the frame and then bolted the casters to the plates. Now it was starting to look like something!
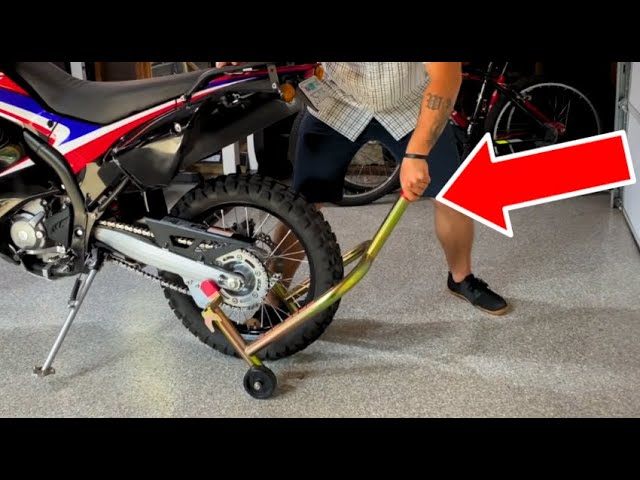
Now, the part that actually holds the motorcycle. I decided to go with a simple ramp design. More steel tubing, cut and welded to create a ramp that my bike could roll onto. I made sure the ramp was wide enough and long enough to accommodate my bike’s tires.
To keep the bike from rolling off the stand, I added a wheel chock at the front. This was just a simple piece of angled steel that would cradle the front tire. I welded it securely to the ramp.
After all the welding was done, I ground down the sharp edges and painted the whole thing with some rust-resistant paint. Gotta protect that metal, you know?
Finally, time for the test. I rolled my bike onto the stand, and it worked like a charm! The wheels made it super easy to move the bike around the garage, and the locking casters kept it securely in place.
It’s not the prettiest thing in the world, but it’s functional and it saved me a ton of money. Plus, I learned a few things along the way. Definitely a win in my book!
- Grabbed steel tubing
- Measured wheelbase
- Cut the tubing
- Welded the corners
- Added cross-braces
- Found heavy-duty casters
- Welded mounting plates
- Bolted casters to plates
- Decided on a ramp design
- Made sure ramp was wide and long enough
- Added a wheel chock
- Welded it securely
- Ground down sharp edges
- Painted with rust-resistant paint
- Rolled bike onto the stand
Final Thoughts
Honestly, building this wheeled motorcycle stand was way easier than I thought it would be. If you have basic welding skills and some time on your hands, I highly recommend giving it a shot. You’ll save money and end up with a custom stand that’s perfect for your needs. Just remember to be safe and wear proper protective gear when welding!


