
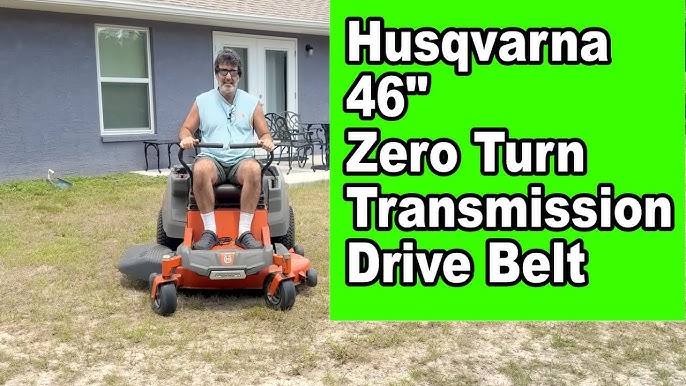
Alright folks, let’s talk about my Husqvarna zero-turn mower and that darn drive belt that finally gave up the ghost last weekend. I was right in the middle of taming the jungle that used to be my backyard, mowing along happily, when suddenly… BANG. Seriously, it sounded like a gunshot! The blades just stopped spinning. Uh oh.
The Panic Moment (and Price Shock)
First thing I did? I turned off the engine and had a peek underneath. Yep, the drive belt was snapped clean through, frayed ends hanging limply. Not good. My immediate reaction was to call up the local dealership, you know, see how bad the damage would be to get them to fix it.
Guy on the phone was nice enough. He quoted me for parts and labor. My jaw just about hit the floor. The cost he threw out was way, way more than I wanted to spend – somewhere north of $200 easy. Nope. Not happening. Time to roll up my sleeves.
Down the Rabbit Hole: Finding the Right Belt
Figured the first step was knowing exactly which belt I needed. Sounds simple, right? Hah! Husqvarna seems to change models like I change socks. I hauled out my phone, knelt next to the mower, and spent a good 30 minutes hunting down the model and serial numbers – usually hidden under dirt or grass clippings. Finally found them on a sticker near the engine.
Then came the research. Trawled through forums, parts diagrams online. Learned that drive belts aren’t just any belt; they have specific lengths, widths, and part numbers. The exact one for my mower was listed as part number XYZ123 (or whatever your specific number is – you must find your own!). Don’t just guess on this!
The good news? Aftermarket belts exist and are way cheaper. Found a solid brand online for about $35. Much better than dealer price. Ordered that sucker immediately.
Gearing Up & Getting Underneath
Belt arrived a few days later. Time to get dirty. Gathered my tools:
- A decent socket wrench set (you’ll likely need it)
- Some wrenches (box end is helpful)
- Gloves (save your knuckles!)
- Maybe a flathead screwdriver
- A sturdy flashlight
- And something soft to kneel on – trust me, your knees will thank you.
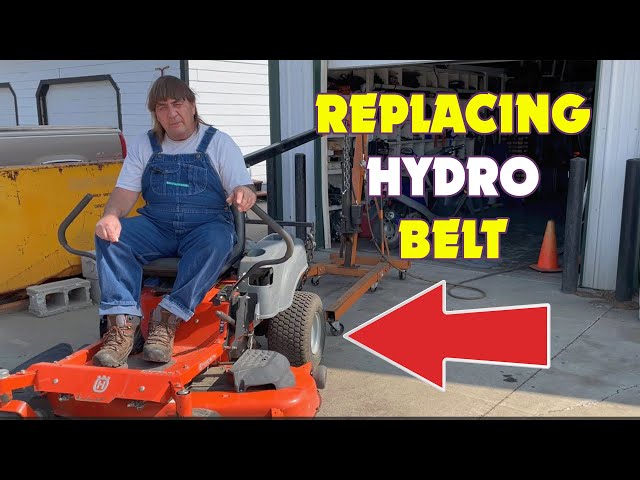
Started by making sure the mower wouldn’t roll. Blocked the wheels. Disconnected the spark plug wire – super important safety step, don’t skip this! Flipped the seat forward to access the top easier, but most of the real work happens from underneath.
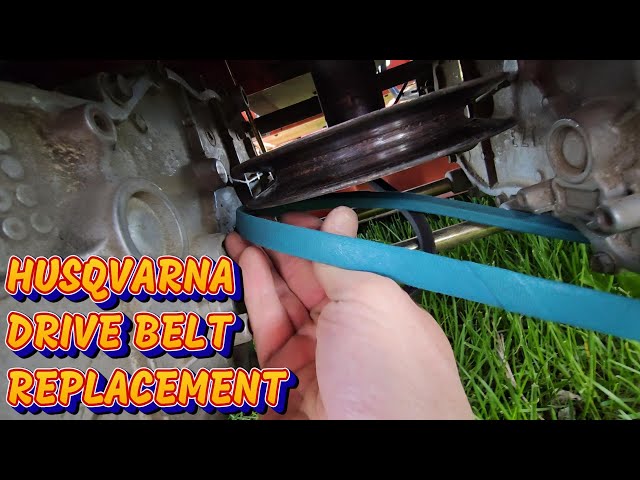
Took a deep breath and slid under. It’s snug down there. Tip: take a picture of the belt routing before you remove the old one. Routing diagrams can look like spaghetti messes, and having that photo saved my bacon later.
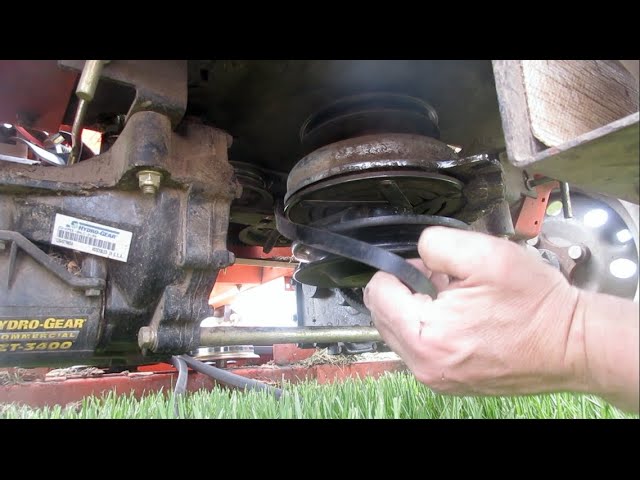
Had to loosen a few bolts holding some guards in place and one on a belt tensioner pulley to create enough slack. Wrestling the old, broken belt out took some wiggling and cursing. It was wedged in tight between all the pulleys.
The Installation Shuffle
Putting the new belt on was the puzzle part. Used the photo I took as my guide. Had to thread it over and under various pulleys, around the clutch… it was like playing Operation blindfolded. Took five tries to get it seated perfectly into all the grooves without crossing over itself.
Once the belt was roughly in place, I had to manipulate the tensioner pulley – basically push it back against its spring – to create enough slack to loop the belt over the last pulley. This part needs some hand strength. Flipped the belt onto the final pulley, eased the tensioner back, and felt the belt snap nice and taut.
Double-checked every pulley, making sure the belt was centered and running smooth. Re-tightened all the guard bolts I’d loosened.
The Moment of Truth… & Victory!
Reconnected the spark plug wire (remember? I told you to disconnect it!). Started the engine, heart pounding a little. Pushed the blade engagement lever…
Success! The blades spun up beautifully, smooth and quiet. Drove it around the yard gingerly at first, then put it through its paces. No weird noises, no slipping. Solid.
Slid back under (one last time for the day!), gave everything a final eyeball to make sure nothing was rubbing or loose. All good.
Final Tally: Pain vs Gain
So, what did this adventure cost me?
- New Drive Belt: $35
- A couple hours of my Saturday: Call it $0 (if I ignore my wife rolling her eyes)
- Tools: Already owned them (but factor those in if you need to buy any basics)
Dealer quoted me over $200. I spent $35 and a bit of sweat equity. Saved myself well over $150 bucks. Plus, learned something new, fixed my own machine. That satisfaction? Priceless. Definitely worth the effort if you’re even slightly handy. Be patient, take pictures, be safe, and you got this!


