Alright, so I’ve been messing around with some image generation stuff, trying to get a specific look. Today’s project? An MMA fighter covered in tattoos. Sounds straightforward, right? It kinda was, and kinda wasn’t. Let me walk you through it.
First Attempts: Barely a Fighter
I started simple. Just typed in “mma fighter with tattoos”. I got some dudes, sure, but they looked more like they were posing for a magazine than ready to throw down. Some of them were, like, models, so I added the term “ugly” to get rid of the pretty boys. A few of them even looked skinny, not exactly the muscle-bound warriors I was picturing. And the tattoos? Super generic, boring stuff. Tribal bands, a few random squiggles. Nothing cool or intricate.
Getting Specific: Adding Detail
Okay, time to get more descriptive. I started adding things like:
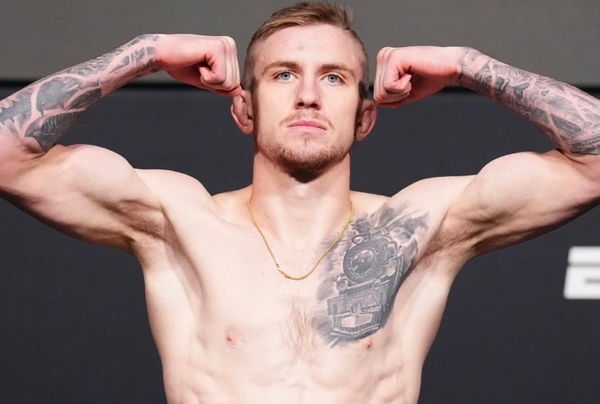
- “Muscular MMA fighter” – To beef them up.
- “Wearing MMA gloves” – To make it clear they’re fighters, not just guys with tats.
- “Full body tattoos, detailed designs”– I wanted serious ink, not clip-art.
- “Aggressive pose” – I needed them to look like they were about to wreck someone.
- “ugly”-Make them look not like models.
This helped A LOT. The guys started looking tougher, the tattoos got more interesting (though still a bit random). I even threw in “photorealistic” to try and get rid of any cartoon-y vibes.
The Breakthrough: Style and Artist
Here’s where it got fun. I’m a big fan of Japanese art, so I tried adding “Yakuza style tattoos”. Boom! Suddenly, I was getting fighters with these amazing, full-body suits of dragons, koi fish, and samurai. Way more impressive.
Then I thought, “What if I specified an artist?” I’m no art expert, but I know a few names. So I tried adding things like “in the style of Horiyoshi III” (he’s a legendary Japanese tattoo artist). It was a subtle change, but it definitely refined the look, making the tattoos feel more authentic and cohesive.
Final Tweaks: Lighting and Setting
Almost there! I played around with the lighting – “dramatic lighting”, “backlit”, “studio lighting” – to give the images more atmosphere. I also tried different settings, like “in a boxing ring” or “in a dimly lit alleyway”, to see what kind of mood I could create.
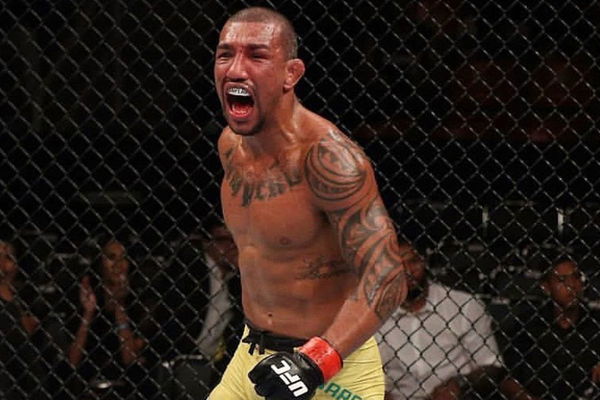
The Result
After a bunch of trial and error, I finally started getting images I was really happy with. Badass MMA fighters, covered in incredible, detailed tattoos, looking like they were ready to jump out of the screen. It was cool to see how much difference a few specific words could make. It’s like learning a new language, figuring out how to talk to the image generator to get exactly what you want.
Anyway after all of that I was able to get it looking the way I want. All it took was adding in the right details and boom I got what I wanted.


")


