
Okay, so I’ve been seeing Jude Bellingham’s haircut everywhere, and I gotta say, it’s a pretty slick look. I decided to give it a shot myself, so here’s how it went down.

The Prep Work
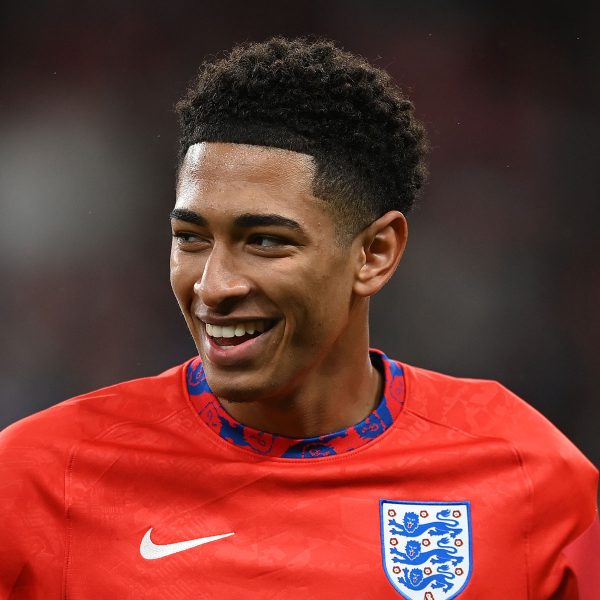
First things first, I needed to gather some pictures. I spent a good chunk of time on my phone, scrolling through images of Bellingham to get a good sense of the cut from all angles. It’s all about the details, you know?
Finding the Right Barber
Next up, I needed to find a barber who could actually pull this off. I didn’t want to risk ending up with some butchered version of the style. I asked around, checked some online reviews, and finally settled on this place that had a reputation for doing good fades.
The Chop
At the barbershop, I showed the barber the pictures I’d saved. We talked about it for a bit, making sure he understood what I was going for – a high fade, textured top, and that sharp line-up. I emphasized that I wanted to keep some length on top for that messy, textured look.
- He started with the clippers, working his way up the sides and back, creating that clean fade. I could feel the breeze on my scalp!
- Then, he switched to scissors to trim and texturize the top. He used some kind of technique where he twisted and snipped, which I guess is how you get that choppy look.
- Finally, he lined everything up with a straight razor, making sure the edges were super sharp and defined.
The Styling
After the cut, he washed my hair and added some product – I think it was some kind of texturizing paste. He showed me how to work it through my hair, scrunching it up a bit to get that messy, effortless vibe that Bellingham rocks.
The Verdict
Honestly, I’m pretty happy with how it turned out! It’s definitely a bolder look than I’m used to, but I’m digging it. It took a bit of trial and error to get the styling right, but I think I’ve finally figured it out. Now, I just need to work on my goal celebrations…


