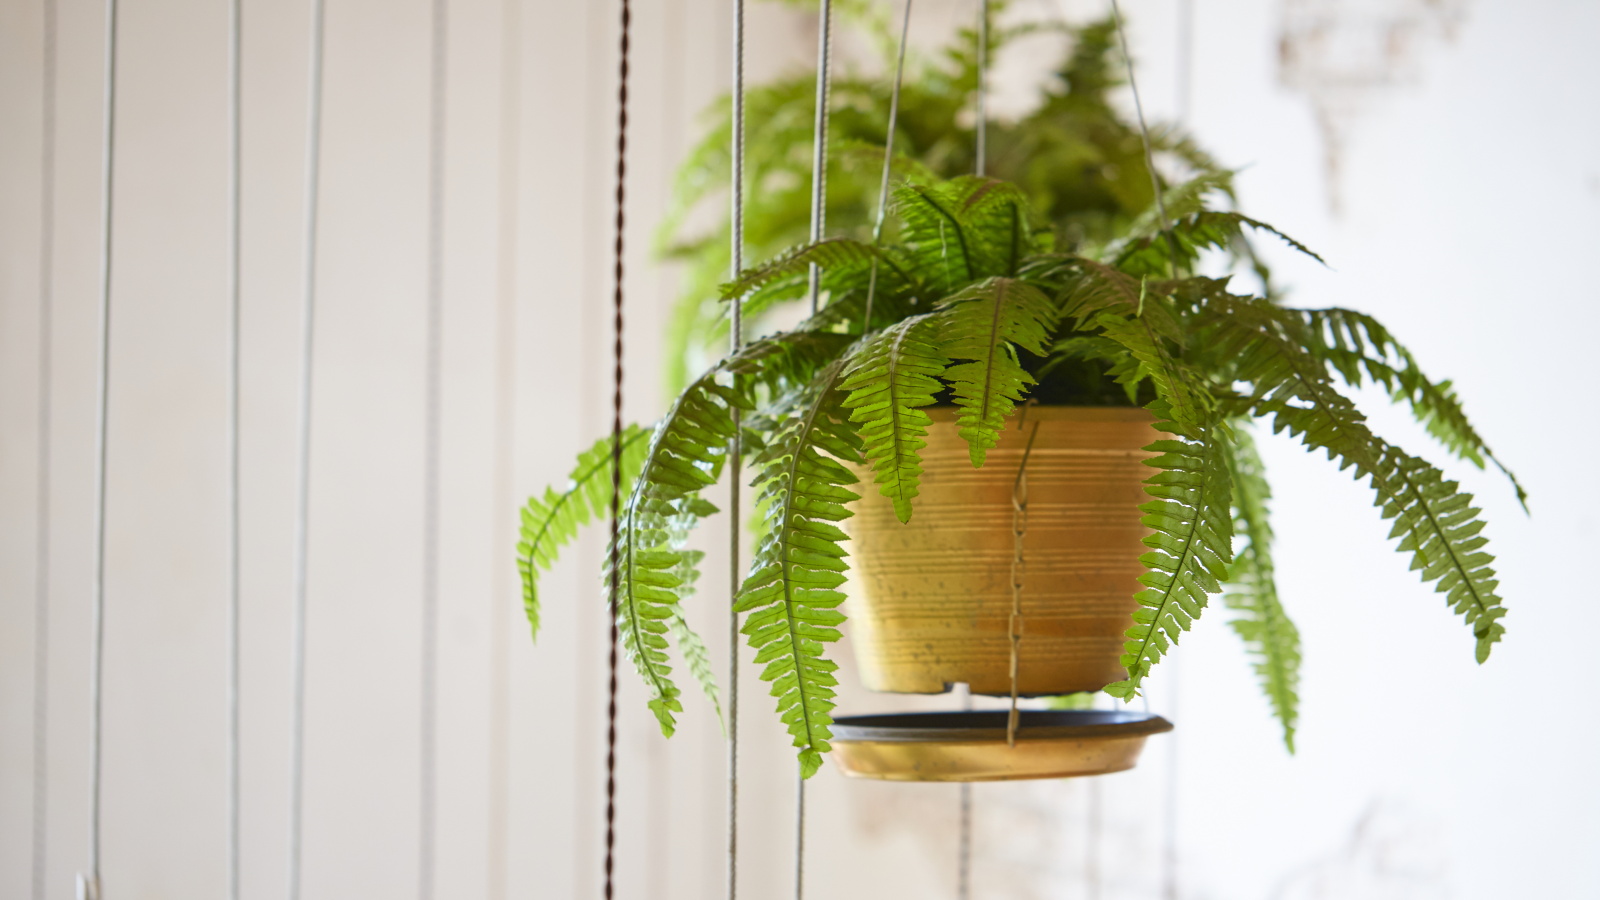
Okay, so let me tell you about this sad, sad fern I had. It was looking absolutely miserable, folks. Brown, crispy edges, just generally looking like it was about to give up on life. I really thought it was a goner.
My First Moves
First thing I did was take a good hard look at it. I figured, okay, what’s the most basic thing? Water, right? I’d been watering it from the top, whenever I remembered, which, admittedly, wasn’t always on a great schedule. Then I remembered reading somewhere, or maybe a friend told me, that ferns sometimes like to be watered from the bottom. So, I decided to give that a shot.
I got myself a bucket, filled it with water – just regular tap water. Then, I plonked the fern’s pot right into the bucket. I watched it for a bit, and you could see these little bubbles coming up from the soil. The idea, I guess, is that the soil soaks up just what it needs. I left it in there until the bubbling pretty much stopped. Pulled it out, let it drain any extra water, and thought, “Alright, step one.” I started doing this every few days, whenever the top of the soil felt a bit dry.
Thinking About Light
Next up, I thought about where this poor thing was living. It was getting a fair bit of direct sun in the afternoon, and I had a hunch that might be a bit much. Ferns, from what I gather, aren’t big fans of being blasted by the sun. They’re more like understory plants, you know? So, I moved it. Found a spot near a window that gets more indirect light, kind of a north-facing vibe. Not dark, but definitely not a sunbeam hotspot.
The “Magic” Potion
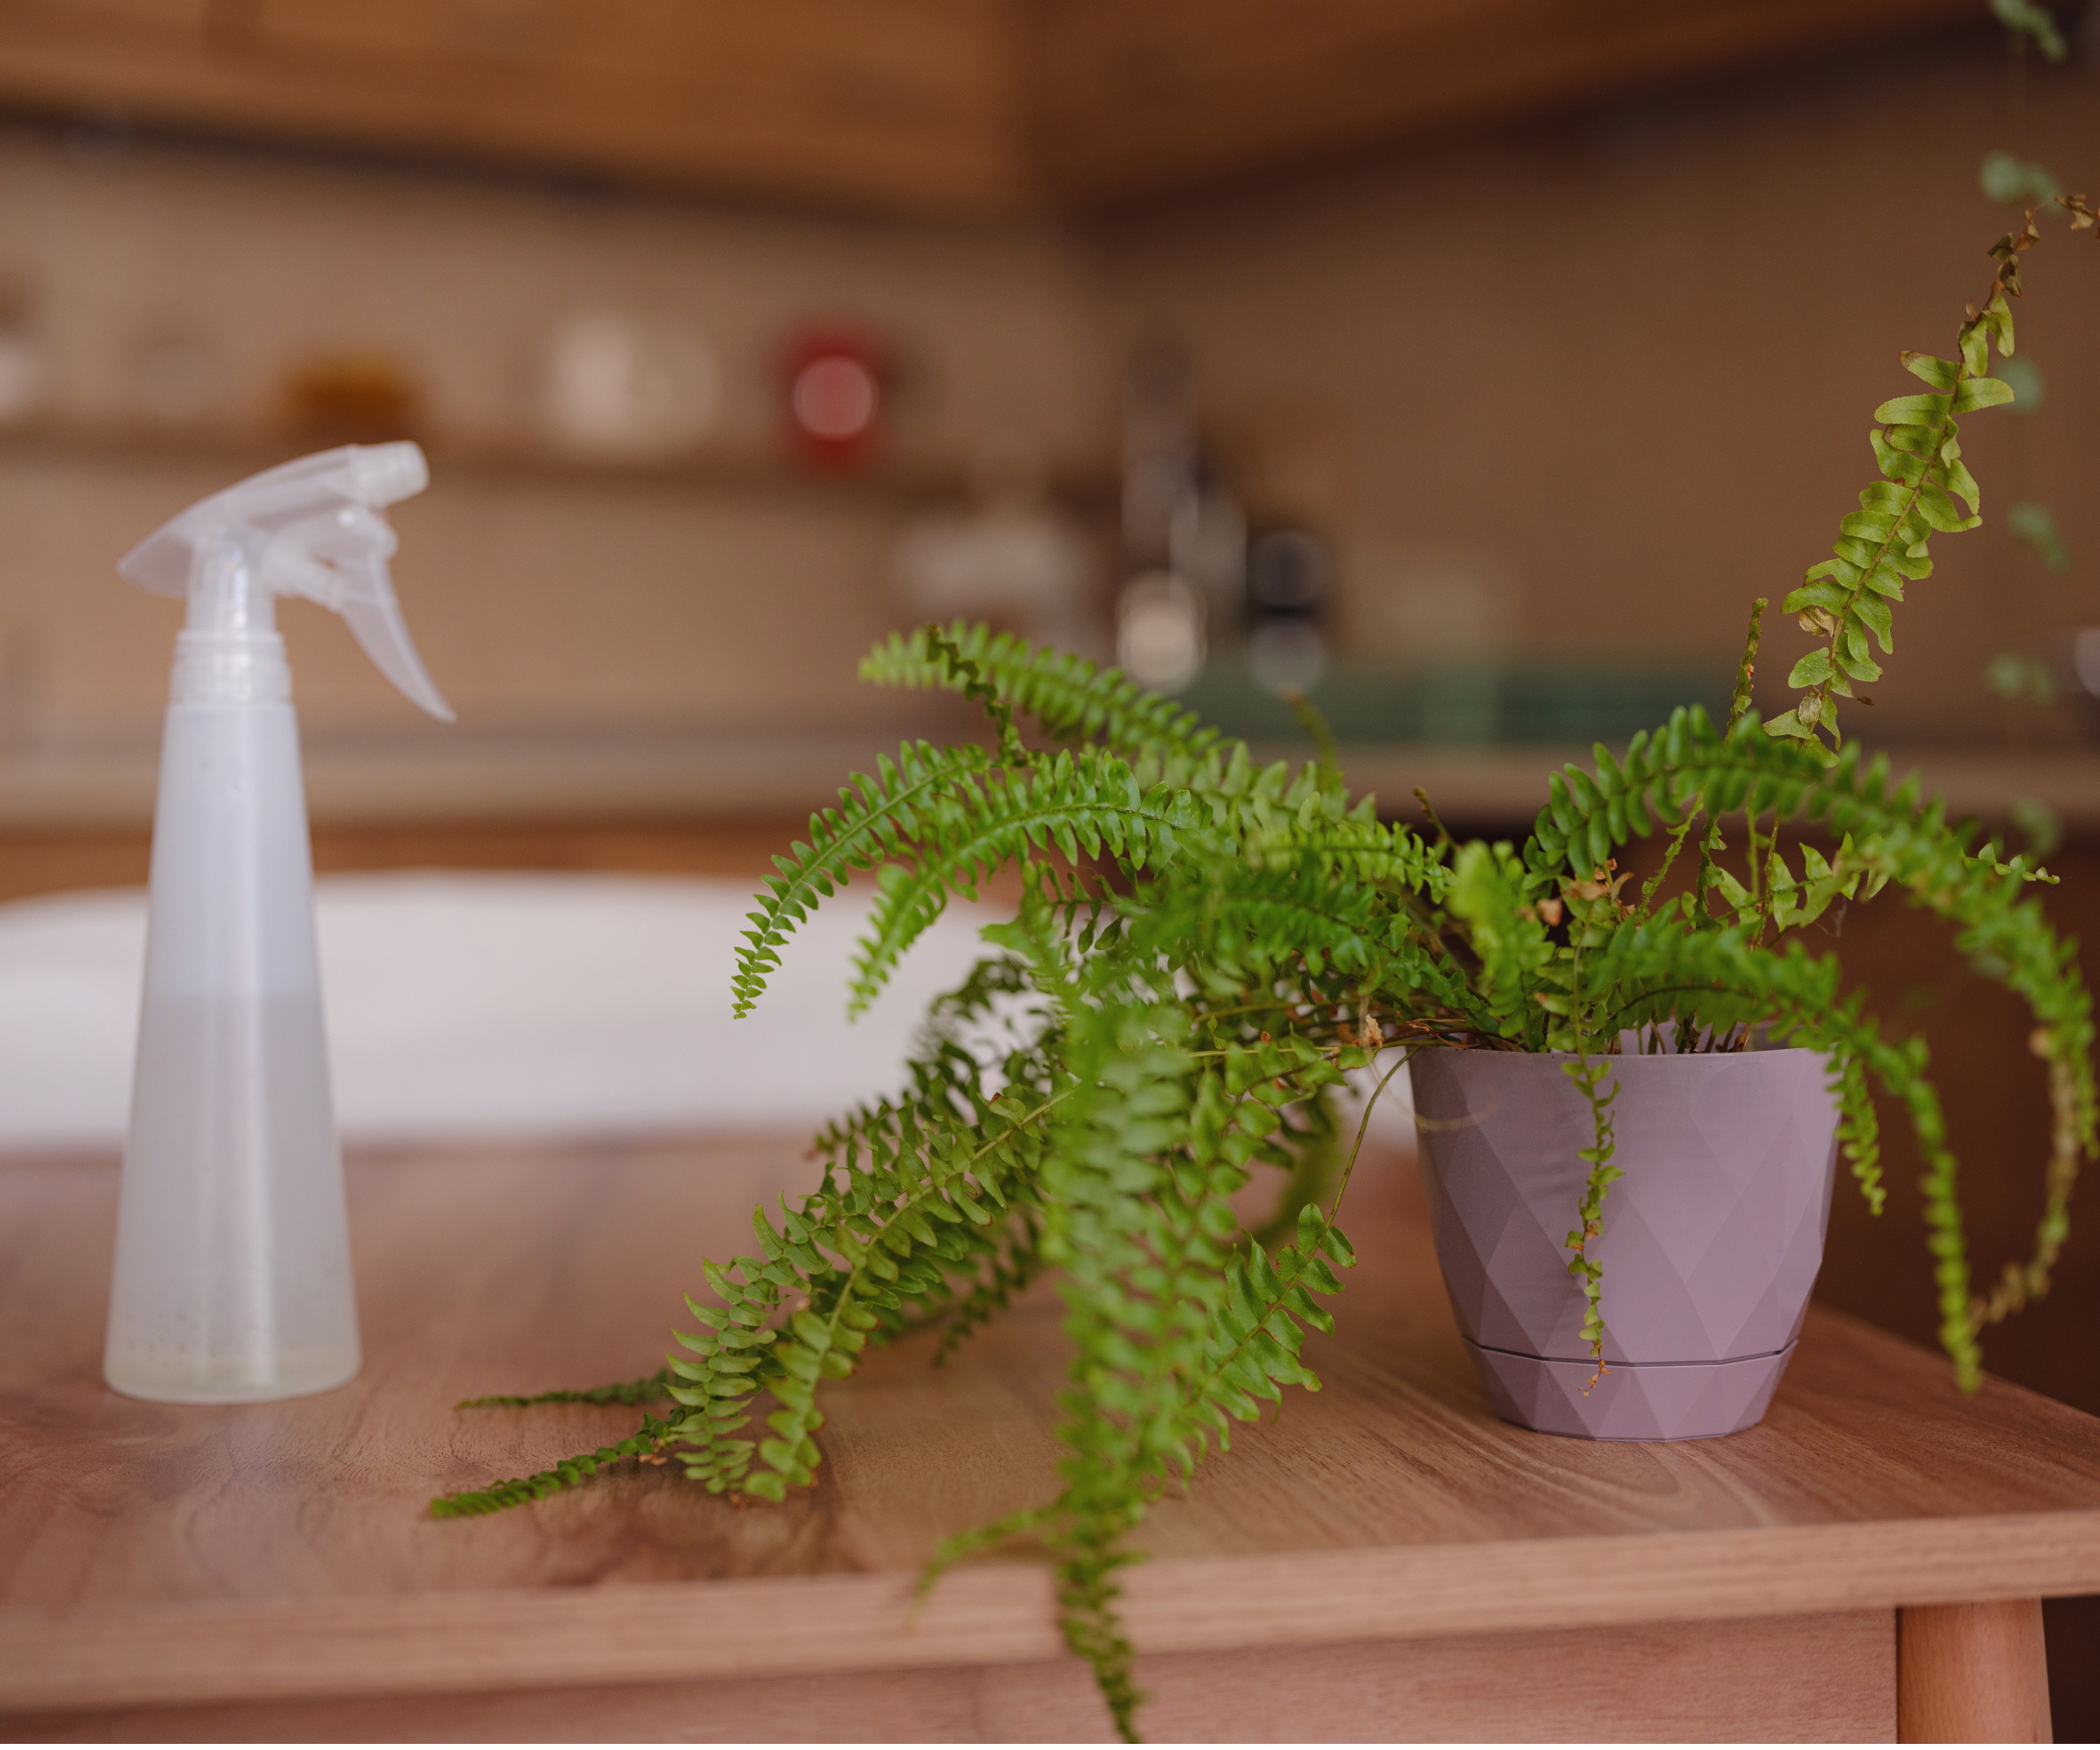
Then, I came across this tip about Epsom salt. Not the fancy bath stuff with perfumes, just plain old Epsom salt you can get from the pharmacy section. The instructions I found said to dissolve about a tablespoon in a pitcher of warm water. So, I got my pitcher, added the salt, and stirred it up really well with a spatula until it was all dissolved. It felt a bit like I was making a special drink for it.
I waited until the fern seemed a bit thirsty again and then I just poured this Epsom salt water over the soil, just like a normal watering. Didn’t drench it, just gave it a good drink.
Watching and Waiting
After all that, it was a waiting game. I made sure to keep an eye on it. This is pretty important. I was looking out for those crispy brown leaves, which I knew meant not enough water, or if the leaves started looking yellow and the soil felt super soggy, that would be too much water. It’s a bit of a balancing act.
- Checked the soil moisture regularly with my finger.
- Looked at the leaves for any weird changes.
- Made sure it wasn’t sitting in a puddle of water after the bottom watering.
The Comeback!
And you know what? Slowly but surely, it started to look better! I started seeing some new green fronds unfurling, which was super exciting. The crispy bits didn’t magically heal, of course, I trimmed some of the really dead ones off. But the new growth was a great sign. It wasn’t an overnight miracle, took a few weeks, but the difference was noticeable. It just looked happier, greener, and more alive.
So yeah, that was my little fern revival project. A bit of bottom watering, a change of scenery, and that little Epsom salt trick seemed to do the job. It’s amazing what a little attention can do, right?


