.")
Alright, so the other day, I noticed the chain on my dirt bike was lookin’ a bit sad, hangin’ down more than it should. You know the look. Figured it was time to tighten that sucker up before my next ride. It’s one of those jobs you just gotta do, keeps things runnin’ smooth and stops the chain from jumpin’ off or wearin’ out your sprockets too fast.

First thing I did was get the bike up on its stand. Gotta have that rear wheel off the ground, makes the whole process way easier. Then I went lookin’ for my tools. Didn’t need a whole lot, really. My big wrench for the rear axle nut – that thing’s always on there good and tight. Then a couple of smaller wrenches for the adjuster bolts on the swingarm. And, super important, I grabbed a little ruler, or sometimes I just use my fingers to kinda gauge the slack.
Okay, so with the bike steady, I tackled that main axle nut. Put some muscle into it and bam, it broke loose. I didn’t take it all the way off, no need for that. Just loosened it enough so the wheel could slide back a tiny bit. That’s the key, givin’ it some room to move.
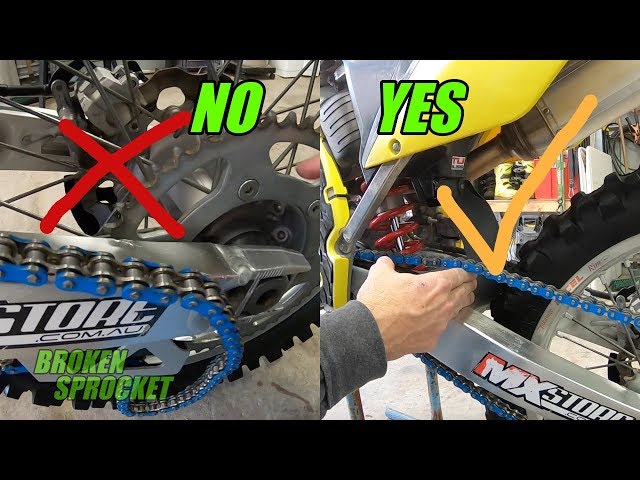
Next up were those little adjuster nuts, one on each side of the swingarm. These are what actually pull the wheel back to tighten the chain. I started turnin’ ’em, a little bit on the right, then a little bit on the left. You gotta do ’em pretty evenly. Most bikes, mine included, have these little marks on the swingarm, like tiny lines. I kept an eye on those, makin’ sure both sides were linin’ up the same. If you get the wheel crooked, it’s gonna wear your chain and sprockets out funny, and the bike won’t handle right. So, slow and steady, keepin’ it even.
While I was turnin’ those adjusters, I kept checkin’ the chain tension. I’d push up on the middle of the chain, halfway between the sprockets. You want some slack, but not too much. My bike’s manual says about an inch to an inch and a half of play, somethin’ like that. Too tight is real bad – puts a ton of stress on the chain, the sprockets, even the bearings in your wheel and transmission. So I just kept fiddlin’ with the adjusters, small turns, checkin’ the slack, until it felt just right. Not too floppy, not guitar-string tight.
Once I was happy with the tension and made sure those alignment marks were still lookin’ good on both sides, it was time to button everything up. I tightened that main axle nut back down. You want it good and snug, really tight, ’cause you don’t want your wheel comin’ loose, that’d be a disaster. But don’t go absolutely nuts and strip the threads, either. Just a solid, firm tighten.
Last thing, I always give the wheel a good spin, make sure it moves freely, no weird noises or bindin’. Checked the chain tension one last time, just to be sure. Everything looked good. Felt good.
And that’s pretty much it. Took me maybe 20 minutes, tops. Now the chain’s lookin’ happy again, nice and taut, and the bike’s ready for some more fun. It’s a simple bit of maintenance, but super important for keepin’ your ride in good shape. Hope that little rundown helps someone out there!


