Alright folks, grab a coffee, because today I finally tackled something that’s been bugging me forever – securing my fancy expensive motorcycle helmet when I gotta park the bike. Seriously, watching it just sit there on the bike felt like an open invitation, you know? So I went out and snagged one of those helmet locks. Figured I’d walk you through the whole messy process of actually getting the darn thing installed on my ride.

The Kit Arrives… But Wait, What?
First things first, the lock kit showed up. Opened the box and laid everything out on my garage floor. Looked simple enough: the lock mechanism itself, couple of metal clamps, a bunch of screws and bolts in a little baggie, a weird plastic spacer thing, and the key, obviously. Instructions? Yeah, there was a piece of paper… tiny diagrams, mostly symbols, some language I couldn’t make heads or tails of. Great start.
Figuring Out The Mess
So, plan B. I picked up my bike, my beat-up 2003 Honda something-or-other, trying to figure out where this lock could possibly bolt on. The instructions mentioned “securely to frame.” Easier said than done! Crawled all over the bike like an idiot, looking for a flat spot near the seat or rear section that actually had threaded holes. Found two potential spots under the passenger pegs. Measured the distance between them with my shaky hands – looked roughly like the distance on the lock’s bracket clamps. Got lucky?
Fitting The Jigsaw Pieces
Grabbed the lock and the two U-shaped clamps. Held the lock near the bike frame under the peg, trying to eyeball if the clamps would reach the holes. They almost did. Needed to squeeze them in a bit. Used some pliers, grunted a lot, bent the clamps just enough without snapping ’em. Slid one clamp into the lock’s bracket slot on one end. Bit fiddly. Then had to line up the holes on the clamp with the holes on the bike’s frame. Here comes the weird plastic spacer. No clue why, but the diagram showed it sandwiched. Shoved it in between the clamp and the frame bolt hole. Got a long bolt, managed to thread it through the clamp hole, through the spacer, and finally into the bike’s threaded hole. Tightened it finger tight. Now time for clamp #2. Easier the second time around, got that bolt in too. Looked crooked, but promising!
Attaching The Actual Lock Part
The lock assembly itself has its own little mounting arms that need to attach to those clamps I just wrangled. Had to loosen the bolts I just put in because the lock arms needed to fit over the clamps. Seriously felt like a puzzle. Wrestled the lock body onto the clamps, lining up the holes again. Got shorter screws this time – dug through the baggie to find the right ones. Started threading them in, holding the lock steady so it wouldn’t flop around. Slowly tightened them up, alternating sides so the lock sat level(ish). Kept checking that the key still slid in and turned smoothly. Tightened everything down proper with my wrench. Gave the lock a wiggle. Solid! Well, mostly solid. Little flex, but I ain’t racing, so good enough.
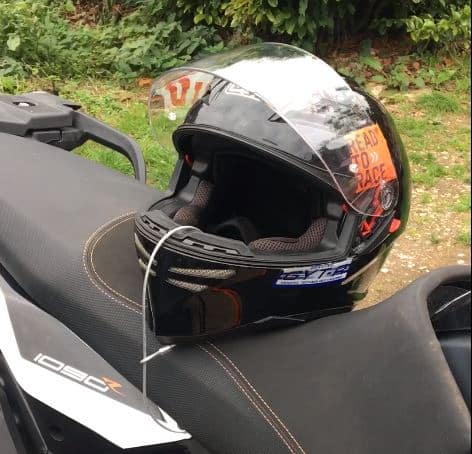
Testing It Out & The Boss Moment
Alright, moment of truth. Locked it with the key. Opened the loop. Hooked my helmet strap through the loop, like the very basic instruction picture showed. Heard the satisfying click as the lock snapped shut. Yanked on the helmet strap – the helmet wasn’t going anywhere! Success! Honestly, felt kinda proud standing back looking at my handiwork. It ain’t a perfect, pro install, but it works! Now, I gotta test it next time I park downtown… fingers crossed I find the helmet still there! Simple solution, bit of a headache getting there, but totally worth the peace of mind.


")

