")
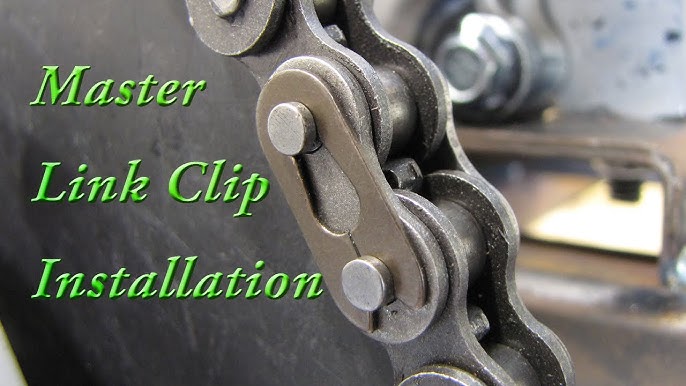
So, I needed to fix my bike chain the other day, and it had one of those “master links.” I’d heard about them, seen them, but never actually messed with one myself. Figured it was time to get my hands dirty.
Getting Started
First, I located the master link on the chain. It looks a little different than the other links – usually has a special pin or a slightly different plate shape. Mine had these little side plates that were kind of slotted.
Opening the Master Link
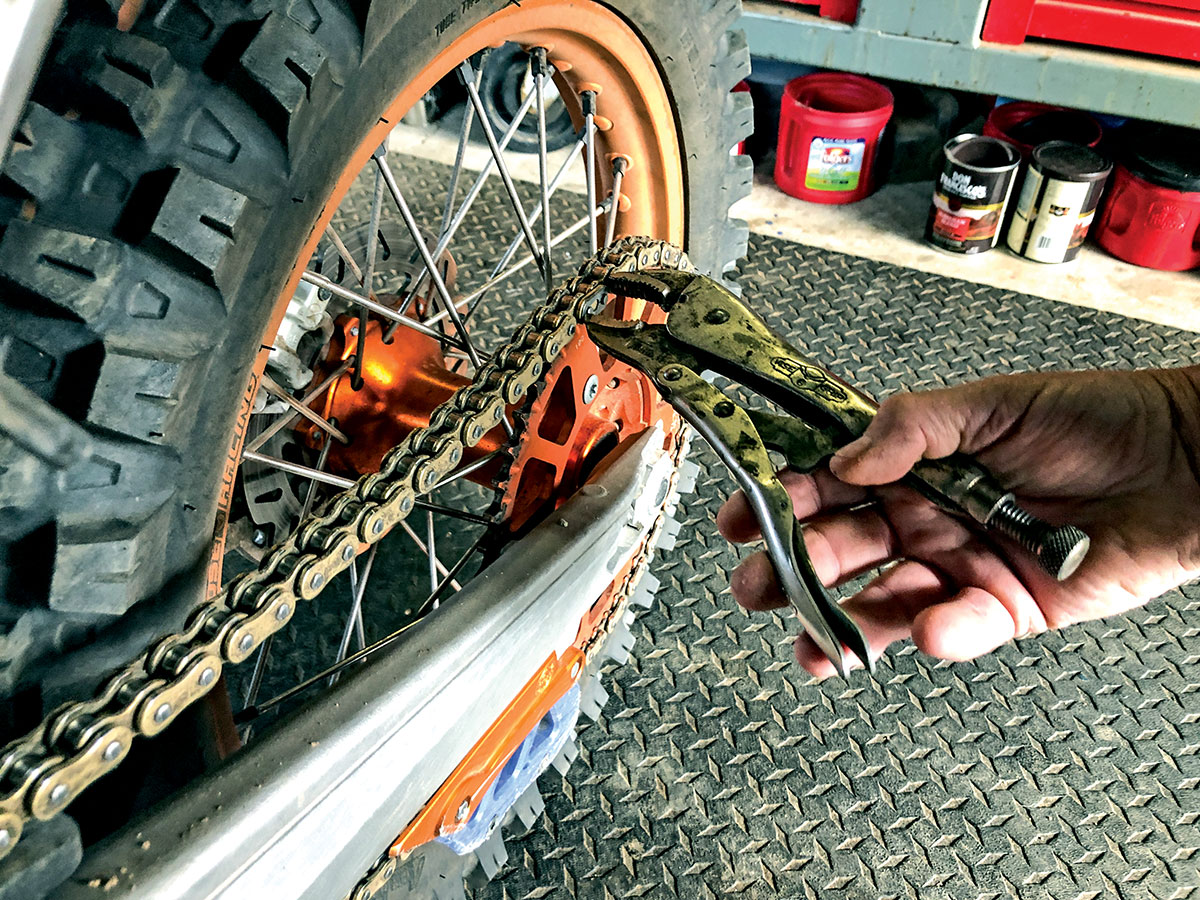
I grabbed my chain tool. You know the multi tool which have chain tool. I tried to push the pins on the master link,it’s not a regular link, so pushing the pins out like you would to break a regular chain won’t work here.
I realized I needed to kind of “slide” the plates apart. Some master links have a special tool, but mine just needed a bit of wiggling. I used a pair of needle-nose pliers, put the tips into the rollers on either side of the master link, and gently squeezed and pulled.
It took a little bit of force, and I was a bit worried about bending the plates, but with a little patient, it finally popped open. One side plate came off, and then the other, and the chain was separated.
Putting it Back Together
Putting it back together was basically the reverse. I lined up the two ends of the chain, slid the side plates back onto the pins, and then used the pliers again. This time, I squeezed the pliers to push the plates together until they clicked into place. You should hear a definite “snap” when it’s fully seated.
Finally, I gave the chain a good once-over, made sure the master link was properly closed and moving freely, and that was it! Chain fixed.
- Find the master link.
- Use pliers or special tool for open the link.
- Don’t force,carefully slide the plates.
- Listen the “click” sound when close the plates.
- Check the link moving freely.
It was much easier to deal with * my bike is smoothly to ride!


