
Okay, so I decided to build a wind tunnel. Yeah, you heard that right, a wind tunnel! I’ve always been fascinated by how things fly, and I figured, why not try to understand it better? So, I started this little project.

Gathering Stuff
First things first, I needed materials. Lots of them. I raided my garage and found some old plywood sheets. Perfect for the tunnel walls! I also grabbed:
- A powerful box fan – the heart of the whole operation.
- Some clear plastic sheets – gotta see what’s happening inside, right?
- Duct tape – because, well, duct tape fixes everything.
- Screws and nails – to hold everything together.
- A few wooden beams – for extra support.
Building the Box
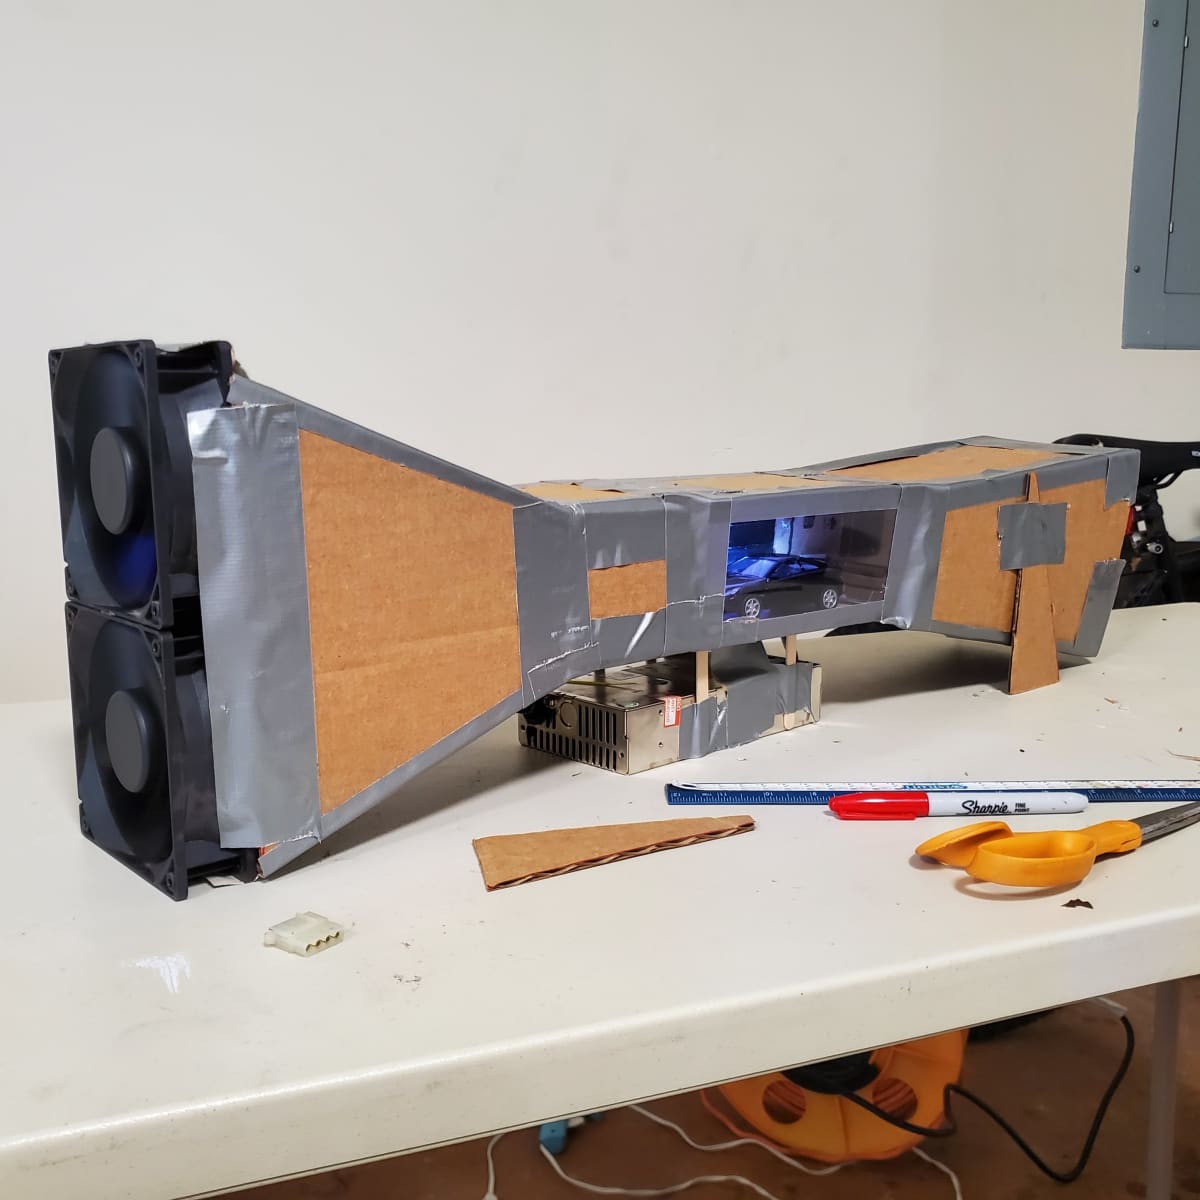
Next up, construction time! I started by cutting the plywood into four long rectangles. These would be the top, bottom, and sides of the tunnel. I made sure they were all the same size, ’cause we want a nice, even airflow.
I then screwed and nailed these pieces together, forming a long, rectangular box. It wasn’t pretty, but it was sturdy. I used the wooden beams to reinforce the corners and make sure the whole thing wouldn’t collapse on itself.
Adding the Fan
Now for the fun part – the fan! I carefully positioned the box fan at one end of the tunnel. It fit snugly, which was great. I used a ton of duct tape to seal any gaps between the fan and the plywood. We don’t want any air escaping where it shouldn’t.
Creating the Viewing Window
To see the magic happen, a viewing section is needed. I put the tunnel box horizontally and carefully cut a large rectangular hole in the top of the tunnel, and for the observation window, I used clear plastic sheet with a size slightly bigger than the hole I just made.

I secured the clear plastic sheet to the top of tunnel by some wooden strips and screws.
Testing Time!
Now, the first test run,I placed a small paper airplane inside, turned on the fan at low speed, and…it worked, that paper airplane flew!
I cranked up the fan speed, and the airplane got a bit wobbly, but it stayed in the air. I even tried throwing in some crumpled-up paper balls to see how they’d react. It was pretty cool to watch them get pushed around by the wind.
Still a Work in Progress
Honestly, it’s not perfect. The airflow isn’t super smooth, and I’m sure there are tons of improvements I could make. But for a first attempt, I’m pretty stoked! I’m already thinking about adding some smoke to visualize the airflow better. Maybe I’ll even try building a little airfoil to test. The possibilities are endless!
So yeah, that’s my wind tunnel project so far. It’s been a fun, messy, and definitely educational experience. Who knows, maybe one day I’ll build a version that could actually test real airplane models! For now, though, I’m happy with my little homemade wind machine.


