
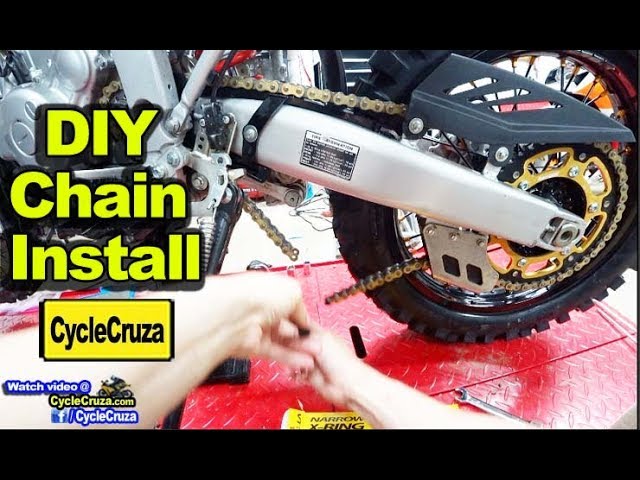
Time to Get My Hands Dirty
Alright, so the other day, my bike’s chain was looking a bit sad, and honestly, I’d been putting off cleaning it properly. Decided it was finally time to just take the darn thing off and give everything a good once-over. Figured I’d walk you through how I did it, ’cause it’s not as scary as some folks make it out to be.
Getting Set Up
First thing I did was get the bike stable. Popped it up on its rear stand. If you don’t have one, find a safe way to get that back wheel off the ground. Makes life a million times easier, trust me. Then, I grabbed my trusty toolkit. Nothing too fancy, just the basics:
- A decent pair of pliers, needle-nose ones are your friend here.
- An old rag or two, ’cause chains are messy. Seriously messy.
- Gloves! Unless you enjoy black grease under your nails for a week.
- Sometimes a small flathead screwdriver comes in handy, so I grabbed one of those too.
Oh, and I also found it helpful to have a small container to put any small bits in, like that master link clip. Those things have a habit of vanishing into another dimension.
The Hunt for the Master Link
Okay, so with my gear ready, I crouched down and started inspecting the chain. You’re looking for what’s called the “master link.” It’s the one link that connects the two ends of the chain, and it usually looks a little different. Mine’s got a little clip on one side holding a side plate on. Some chains have rivet-type master links, which are a bit more of a pain – you might need a chain breaker tool for those. But thankfully, mine was the clip type.
I slowly rotated the rear wheel, keeping my eyes peeled. Patience is key here; sometimes it blends in pretty well, especially if it’s caked in grime. After a minute or so, bingo! Found it. Gave it a quick wipe down with the rag so I could see what I was doing.
Breaking the Chain (The Easy Way)
Now for the main event. I grabbed my needle-nose pliers. The clip on the master link has an open end and a closed end. You need to push or slide the clip off towards its open end. Super important: make sure you’re pushing it in the direction that’s opposite to the normal direction the chain spins when you’re riding. If you go the wrong way, you’ll just be fighting it.
I got a good grip on the clip with the pliers and gave it a firm, steady push. It was a bit stubborn at first – probably been on there a while. A little wiggle and it slid right off. Success! I immediately put that tiny clip into my little container. Don’t lose this!
With the clip gone, the side plate of the master link was loose. I gently wiggled it off with my fingers. Sometimes, if it’s sticky, this is where that small flathead screwdriver can help you GENTLY pry it off. Don’t go all He-Man on it. Once the plate was off, I could just push the two pins of the master link out from the other side of the chain, and the chain separated.
And It’s Off!
With the master link disconnected, the chain was basically just hanging there. I carefully pulled one end, and it snaked its way off the front and rear sprockets. And just like that, the chain was off the bike! Felt pretty good, not gonna lie. Now I could really get in there and clean everything up properly. It’s one of those jobs that seems daunting at first, but once you do it, you realize it’s pretty straightforward. Hopefully, this helps someone out!


