
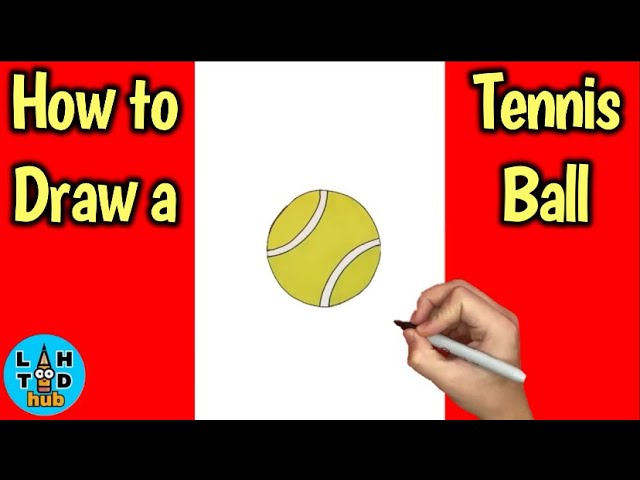
Okay, so I wanted to try drawing a tennis ball today. I grabbed my sketchbook and a pencil, and let’s see how it went!
Getting Started
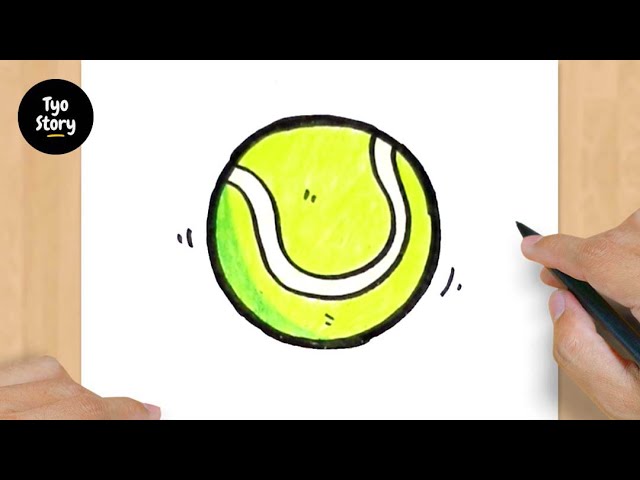
First, I drew a simple circle. It wasn’t perfect, but it was a decent starting point. I used light strokes because you know you are going to erase it later.
Adding the Lines
Next, I added those curved lines that you see on a tennis ball. I tried to make them symmetrical, but, they ended up a little wonky. I figured out that it is difficult than it looks.
- Started with one line down the middle.
- Then, I added another curved line that sort of mirrored the first one.
- I kept adjusting them until they looked okay-ish.
Time to Shade
Now for the fun part – shading! I wanted to give the ball some dimension, so I started by lightly shading one side.
I used the side of my pencil to get a softer look, and then I added some darker shading to make it look more round. It still needed something.
Adding Texture
I remembered that tennis balls aren’t perfectly smooth, so I added some texture. I used small, quick strokes to create a fuzzy look, and I tried to follow the curve of the ball.
Finishing Touches
I erased any stray lines and cleaned up the edges a bit. I looked at my drawing and thought, “Hey, that’s not half bad!” It’s not perfect, but it definitely looks like a tennis ball.
Overall, it was a fun little drawing exercise. It’s cool to see how a few simple lines and some shading can create something recognizable. I might try drawing other sports balls, maybe like soccer ball next time, just to practice the different shapes and patterns.


