
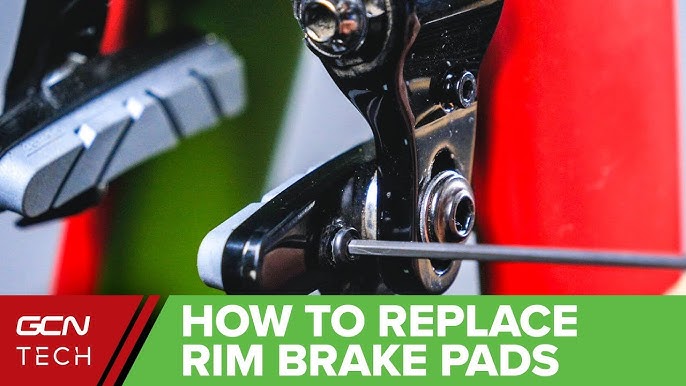
Caught myself staring at my bike brake pads today during my weekend ride. That annoying squeal coming from the front wheel? Yeah, sounded like a dying cat. Figured it was way past time to check ’em properly. Grabbed my trusty flashlight – gotta see what you’re dealin’ with, right?
Taking a Real Close Look
First thing, I squeezed the brake lever hard while peeking at the pads through the caliper. Those little rubber bits pushing against the rotor? Barely any meat left! One side looked thinner than a slice of cheap ham. Tried feeling the pad surface with my finger – yup, smooth as glass in the middle. That ain’t good. Remembered the “wear line” groove carved into the pad. On my Shimano pads, that groove was practically gone on the front ones. Boom, instant confirmation: time for replacement. Back pads weren’t great either, but the fronts were shot.
Getting the Right Stuff
Hopped off the bike and dug into my messy toolbox. Found an old, mostly-used tube of brake grease. Almost dry – typical. Made a mental note to grab new grease tomorrow. Pulled out the worn pads to check the model number stamped on the back. Didn’t trust my memory. Wiped off the grime: BR-M445. Good. Checked my spares bin… nothing matching. Knew I needed resin pads this time – cheaper and quieter for my commute.
The Actual Swap
Cleaned the brake caliper area first with some isopropyl alcohol on a rag. Crud builds up, makes the new pads dirty fast. Pulled the old pads out – they slid right out once I unhooked the little metal pin holding them in. Easy peasy. Before popping in the new shiny ones, I gently pushed the pistons back into the caliper using a plastic tire lever. Gotta do this slow and even! Squeezed the lever too early once and popped a piston out – messy mistake I won’t repeat. Made sure the pistons were nice and flush.
Slipped the new resin pads in. They fit snug. Remembered the fiddly bit – getting that tiny spring clip correctly seated over the pads and hooked onto the pin. Took me two tries; dropped the pin once. Finally got it all locked in place. Repeated for the other caliper. Took maybe 15 minutes per wheel once I found my groove.
Bedding Them In & Final Check
This part’s crucial. Hopped on the bike, found a quiet flat road. Pedaled up to a decent speed, then dragged the brakes gently but firmly down to walking pace. Did this maybe eight or ten times for each brake. You wanna get that pad material transferred onto the rotor. Started smelling that faint new-brake scent – good sign. Then, hit a gentle downhill, squeezed harder for a full stop. Repeated a few more times. Felt the bite improve with each pull.
Took her for a quick spin around the block. No more dying cat noises! Brakes felt much stronger, stopping felt controlled. Big difference from the mushy feel before. Checked the alignment quick – rotor wasn’t rubbing anywhere. Perfect.
When to Actually Do It
Looking back, here’s what finally convinced me this time:
- The Scream: That awful high-pitched squealing under braking – impossible to ignore.
- Feeling Smooth: The pad surface feeling glassy when I touched it. Should feel textured when it’s good.
- Visual Thinness: Seeing how little pad material was left compared to a new one. When in doubt, take the wheel off for a proper look sideways.
- Missing Groove: That wear indicator groove basically disappearing on my worn pad.
- Mushy Lever: Feeling like I had to squeeze way harder to get stopping power.
Don’t wait until metal grinds on metal, folks. That ruins your rotors fast. Listen to your brakes, poke ’em, look at ’em. Saves money and keeps you safe. Simple.


