?")
Okay, here’s my blog post about my “Kawasaki Motorcycle Blue” project:
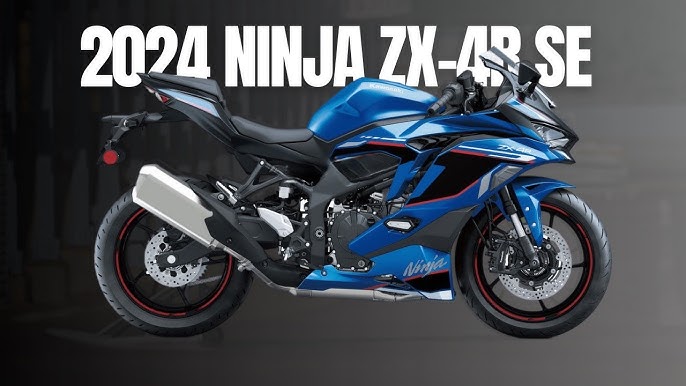
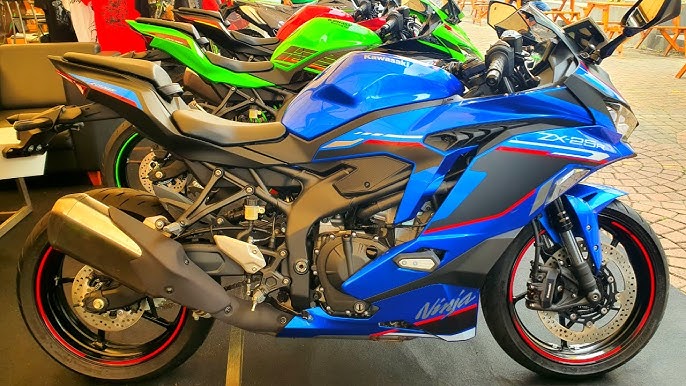
So, I’ve been wanting to give my Kawasaki a fresh look for a while now. It’s an older model, and the original paint job was starting to look a little tired. I’m a big fan of blue, so I thought, “Why not go all out with a custom blue paint job?” That’s where I started, the most rudimentary idea.
Getting Started, Prepping for painting
First thing I did, took apart the bike. I mean, I really stripped it down. Fairings, tank, fenders – everything that I wanted painted came off. This took a good chunk of a Saturday, and I made sure to keep all the bolts and screws organized in little baggies. Trust me, you don’t want to lose those!
Next up was the prep work. This is where the real elbow grease comes in. I sanded down all the parts to get rid of the old paint and any imperfections. Started with a coarser grit sandpaper and then moved to a finer one to smooth everything out. My arms were definitely feeling it after this!
The Painting Process
After checking online with some friends doing the same thing, picked up the paint. I decided to use spray cans, because I am new to paint by myself. I found a really nice, deep metallic blue that I thought would look awesome. And got a good quality clear coat too, to protect the paint and give it a nice shine.
I set up a makeshift spray booth in my garage, using plastic sheeting to keep the overspray contained. Put on a respirator mask – safety first, people! – and got to work.

I applied several thin coats of the blue paint, letting each coat dry before applying the next. This is key to getting a smooth, even finish. Patience is a virtue, they say, and it definitely applies to painting. Honestly, it’s pretty boring in between coats, but that drying time is super important.
Once the blue was done and completely dry, I applied a few coats of clear coat. Again, thin coats are the way to go. This gave the paint job a nice, glossy finish and helped protect it from the elements.
Putting It All Back Together
After letting everything dry for a couple of days – I wanted to make sure it was good and cured – it was time for reassembly. This was basically the reverse of taking it apart, but I took my time to make sure everything was lined up properly and tightened down securely.
There were a couple moments, like fiddling with the smaller fairing pieces, I felt not that sure. I am not good at handcrafts, so, took me more time than expect. Fortunately, every parts and screws are in the baggies.
The Final Result
Finally, I stood back and admired my handiwork. The blue paint job looked amazing! It was exactly the kind of refresh I was hoping for. The metallic flakes in the paint really popped in the sunlight, and the clear coat gave it a deep, rich shine.
It was a lot of work, sure, but totally worth it. I learned a ton about prepping and painting, and I’m pretty proud of how it turned out. Now I’ve got a bike that looks unique and reflects my personal style. And next time, I probably try a different method, maybe some tools to get a better result.

.")


")